
Do-it-yourself home improvement can feel like a closed world. You watch confident people fit shelves, paint rooms and fix taps, and you wonder how they learned. The answer is simple: they started with small projects, made a few mistakes, and built their skills one job at a time. These diy home improvement projects for beginners are designed to give you that same start, safely and successfully.
This guide begins with tools and safety, then moves through easy projects in order of difficulty. Each project explains what you need, what to do step by step, and what to avoid. By the end, you will have improved your home, saved money, and gained the confidence to tackle bigger jobs in the future.
Your Beginner Toolkit and Safety Basics
You do not need a workshop full of tools to begin. A small, well-chosen toolkit covers most beginner projects. Start with a tape measure, a spirit level, a claw hammer, a set of screwdrivers, an adjustable spanner, a utility knife, a pencil, painter’s tape and a cordless drill with a basic bit set. Add sandpaper, filler, a paintbrush set and a roller tray as you take on decorating projects.
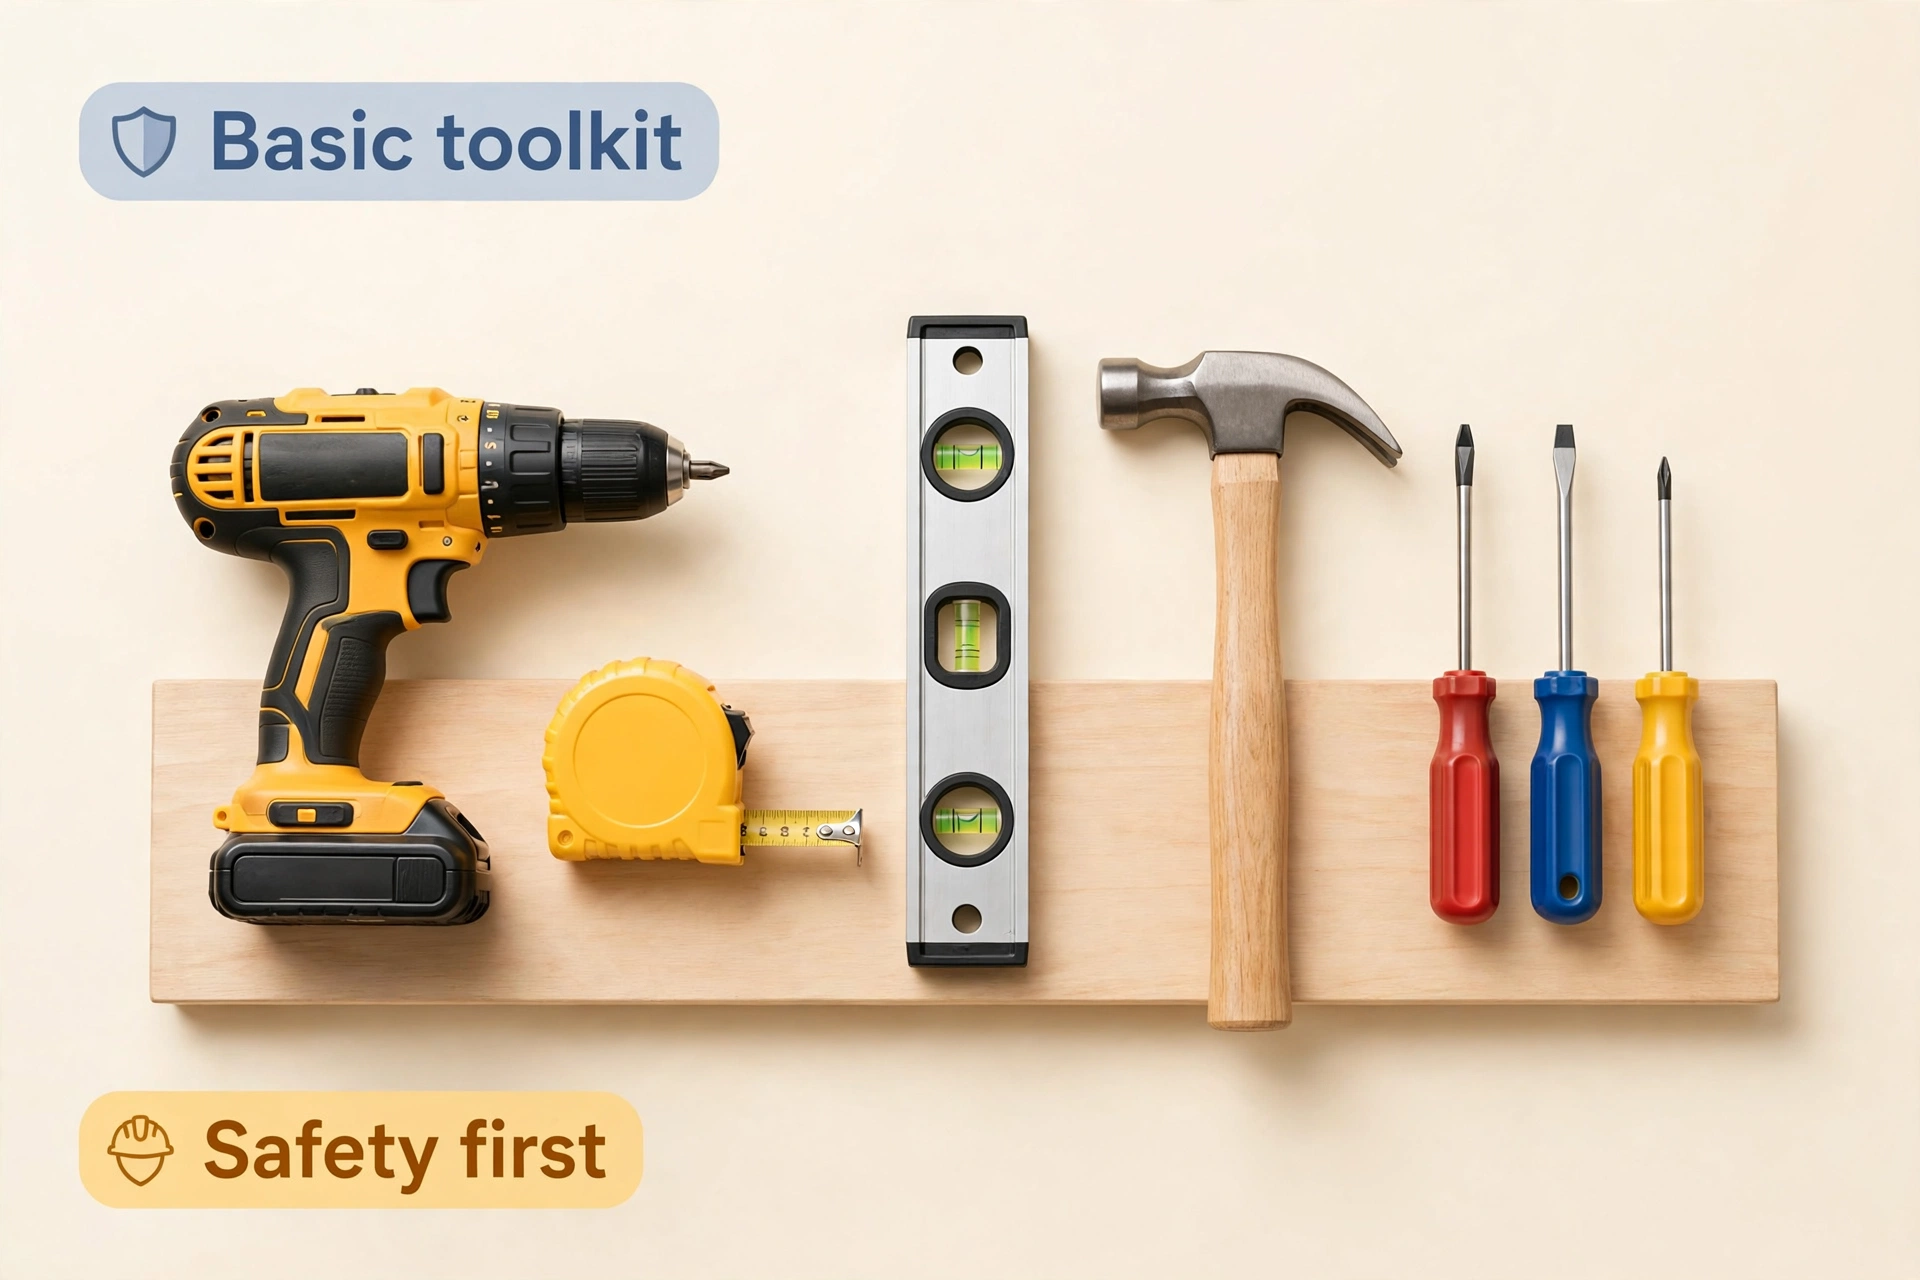
Buy decent quality for the tools you use most, such as the drill and the tape measure, and save money on consumables like sandpaper and tape. Keep tools clean, dry and in one place, so you can find them when a job comes up. A simple toolbox or a shelf in a cupboard is enough. Labelling the box helps everyone in the household return tools to the right place.
Safety comes before speed on every project. Wear safety glasses when drilling or sanding, gloves when handling rough timber or sharp edges, and a dust mask when sanding or working in dusty areas. Always switch off power before working near electrics, and turn off water before touching plumbing. If a job involves gas, structural walls or main electrical circuits, stop and hire a qualified professional. Knowing your limits is a DIY skill, not a weakness.
Start With Painting: The Perfect First Project
Painting is the ideal first DIY project because it is forgiving, affordable and instantly rewarding. A freshly painted room looks new, and small mistakes are easy to fix with another coat. Choose one room to start, ideally a smaller one such as a bedroom or a hallway, so you can finish it in a weekend and enjoy the result.
- Prepare the room: Move furniture to the centre, cover it with dust sheets, and remove light switch covers and outlet plates.
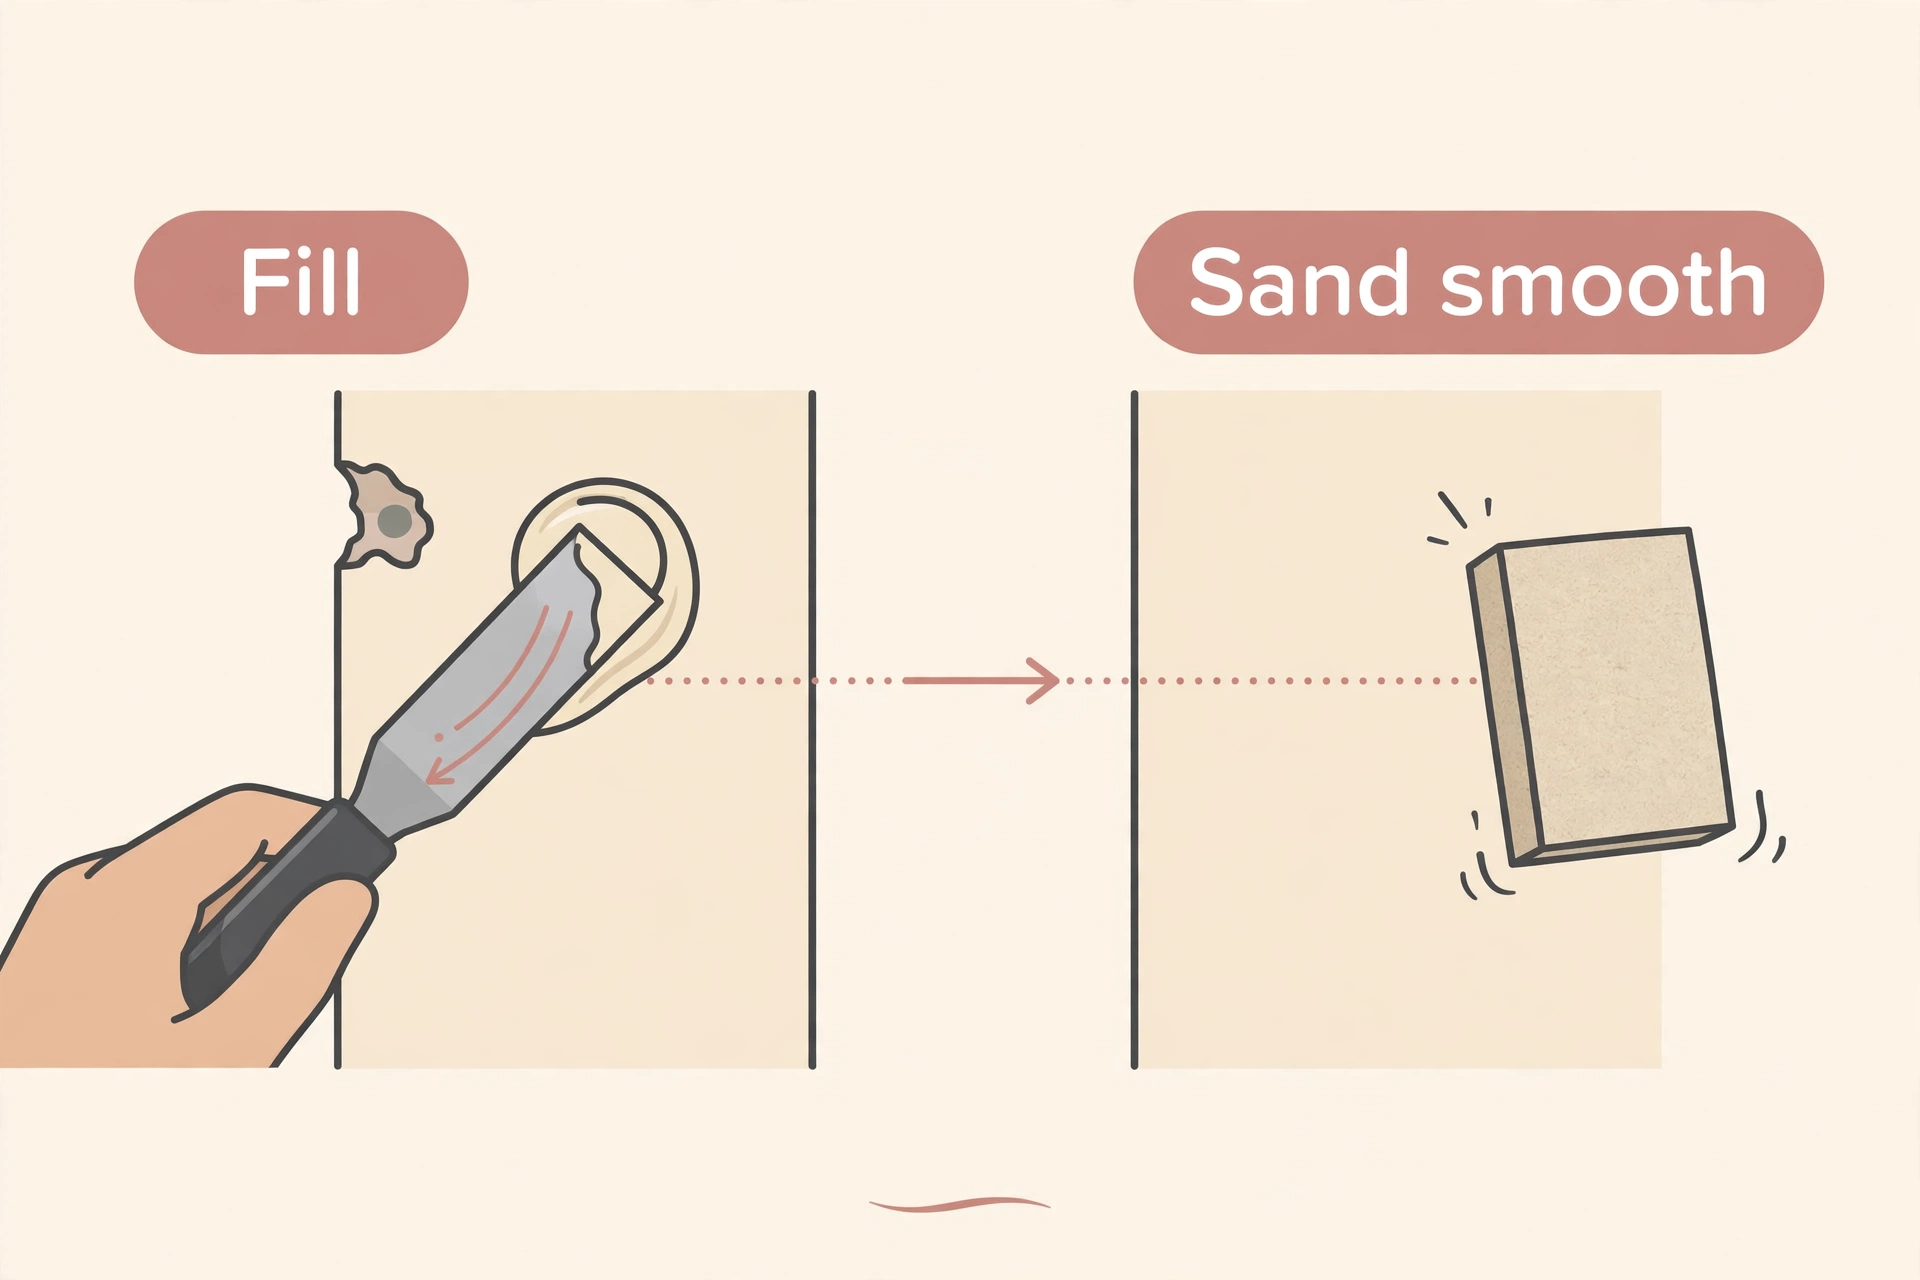
- Clean and repair: Wash the walls, fill small holes with filler, let it dry, then sand smooth.
- Protect edges: Apply painter’s tape along skirting boards, window frames and ceilings.
- Cut in first: Paint the edges with a brush, working in short, steady strokes.
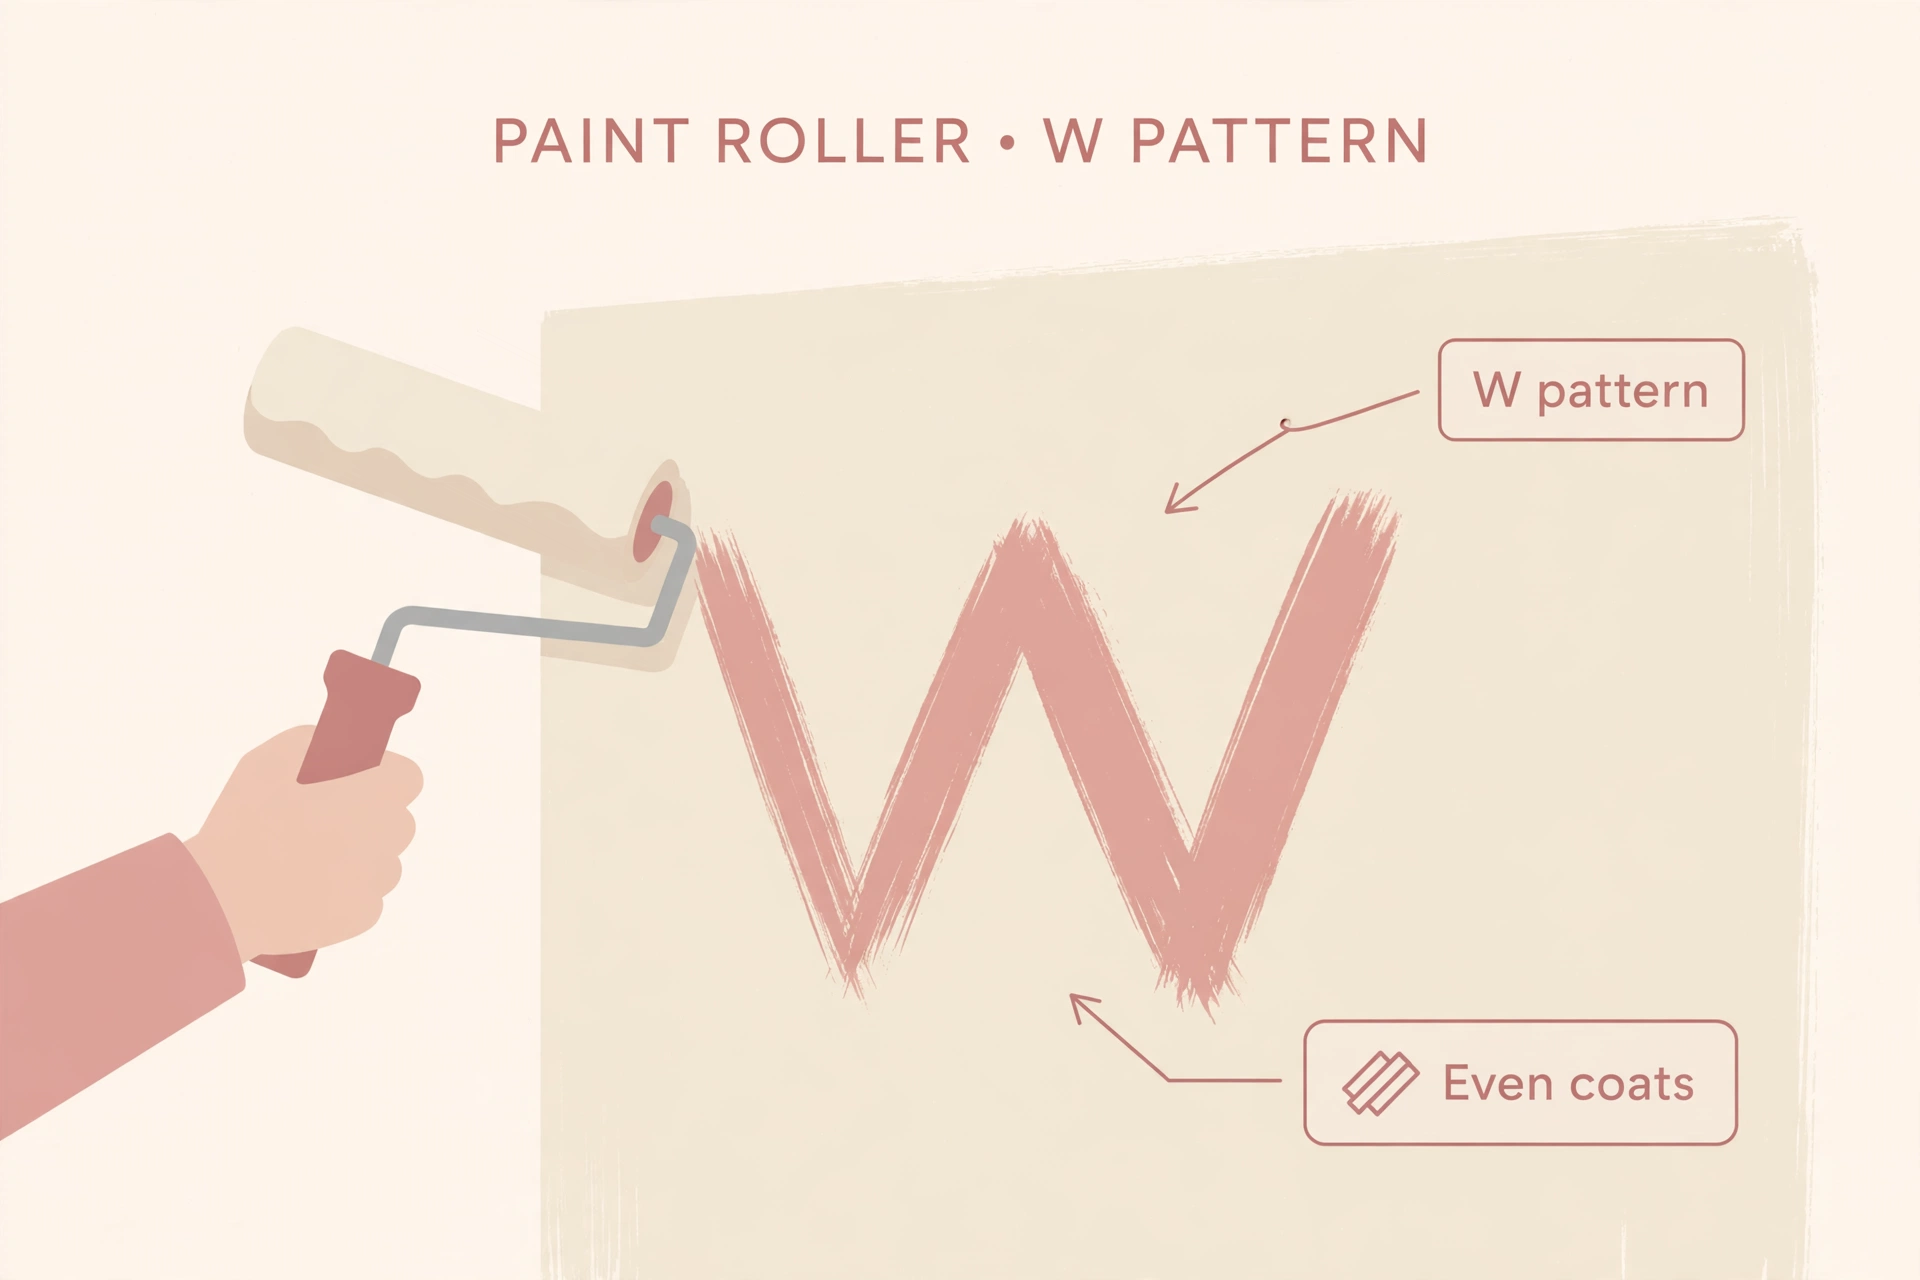
- Roll the walls: Use a roller in a W pattern, then smooth over it in straight lines for even coverage.
- Apply a second coat: Let the first coat dry fully, then repeat for a rich, even finish.
Choose a light, neutral colour for your first room, because it is easier to apply evenly and suits most furniture. Test the colour on a small patch first and look at it in daylight and lamplight. Good preparation takes longer than painting itself, but it is what separates a professional-looking result from a rushed one. Once the room is painted, a thorough tidy makes the finish shine. Our guide to how to clean your house fast with a room-by-room system helps you finish the job properly.
Fit Shelves and Hang Things With Confidence
Hanging shelves, mirrors and pictures is a core DIY skill that transforms every room. The secret is careful measuring and the right wall fixings. Plasterboard, brick and concrete all need different fixings, so identify your wall type before you drill. If you are unsure, ask at a hardware shop and bring a photo of your wall.
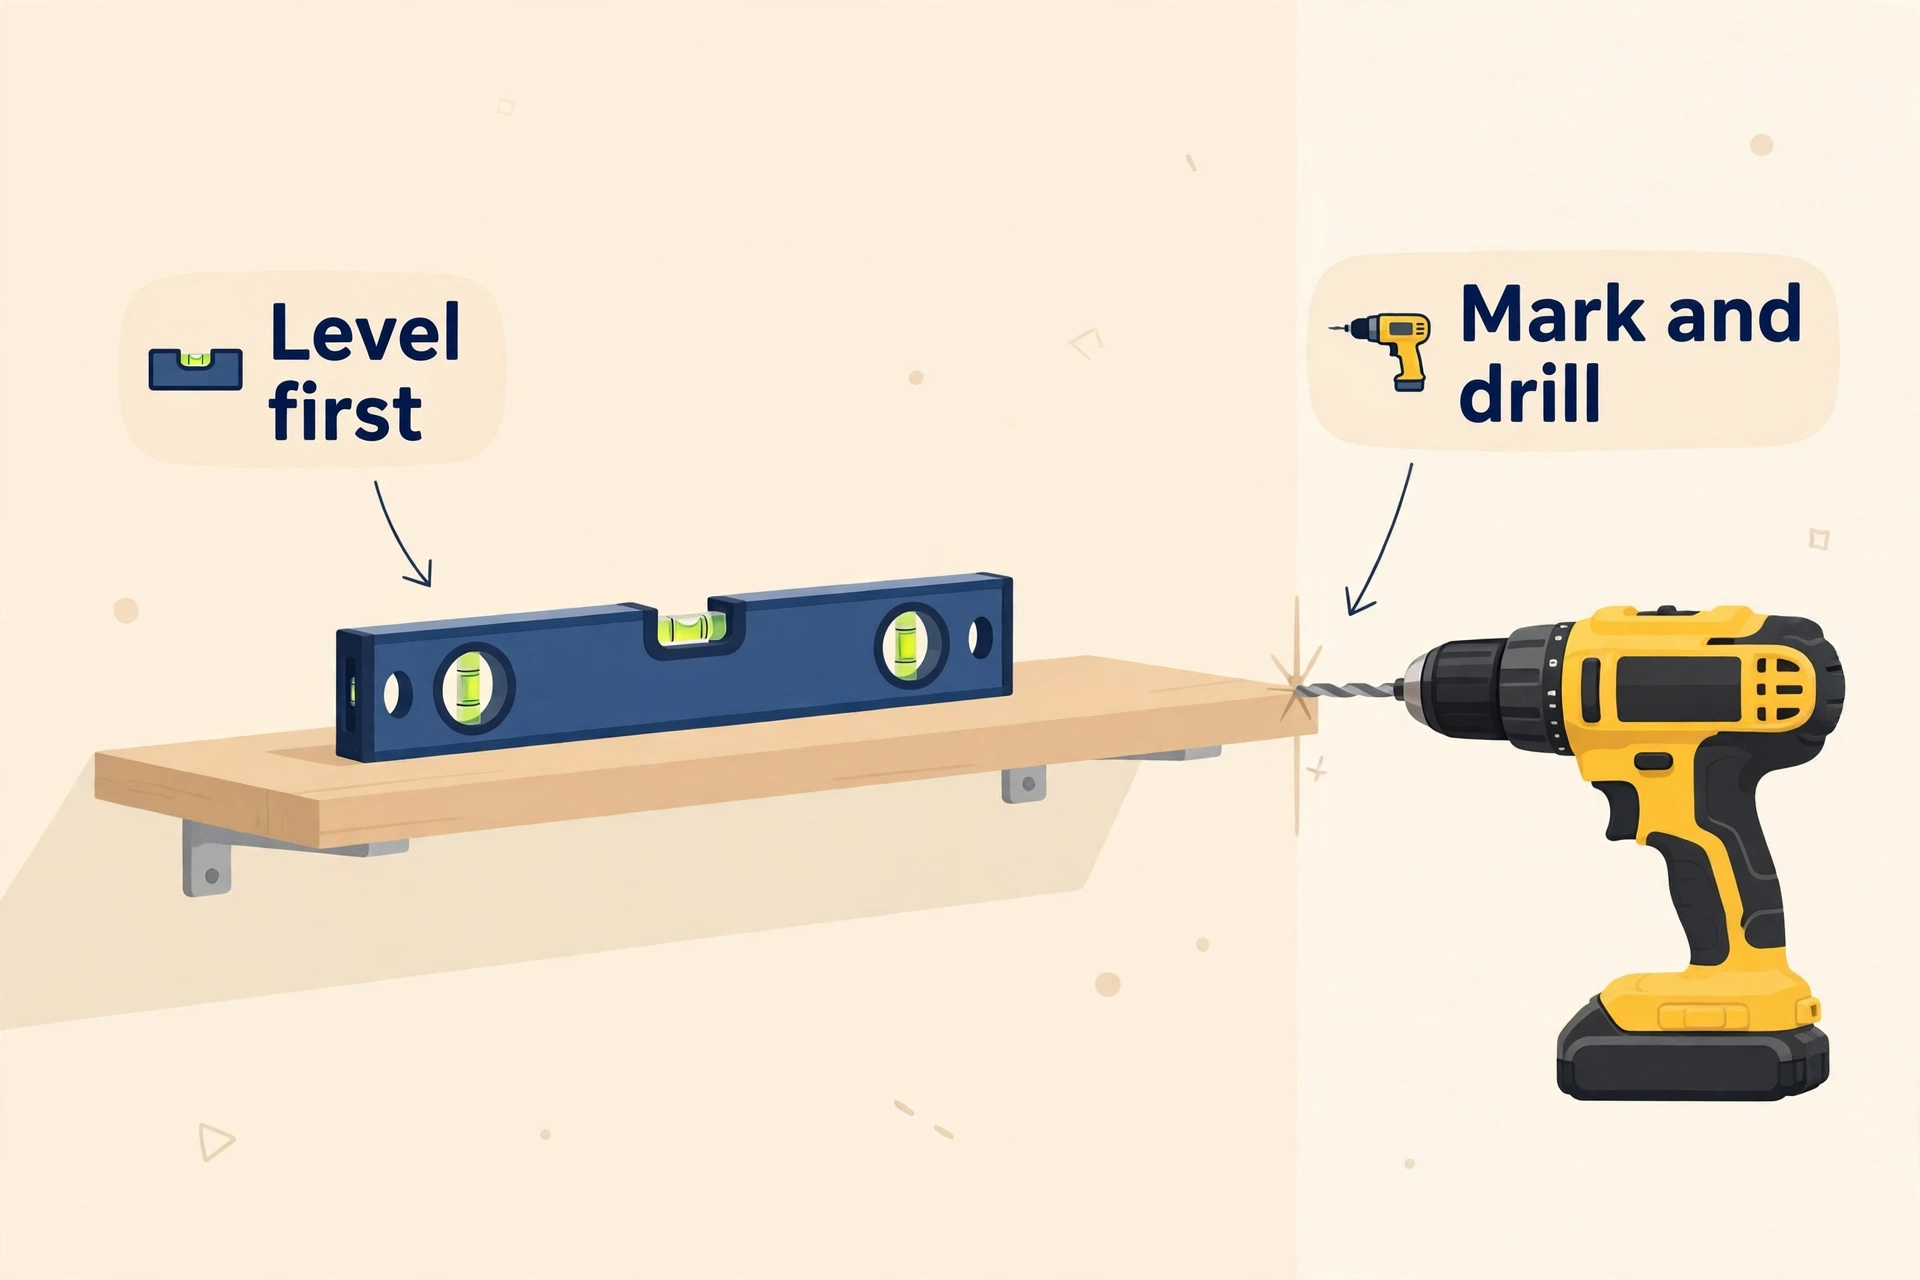
How to Fit a Floating Shelf Step by Step
Mark the shelf position with a pencil and a spirit level, so the shelf sits straight. Mark the fixing points, drill pilot holes, and insert the correct wall plugs. Fix the brackets firmly, check they are level again, and then slide or screw the shelf into place. Test the shelf with a light load first, then add books and objects gradually. A shelf that feels solid with a gentle pull is ready for everyday use.
Start with one shelf in a low-risk spot, such as above a desk or beside a bed. Once you trust your measuring and drilling, move on to pairs of shelves, coat hooks and heavier mirrors. Always check for hidden pipes and cables before drilling, using a detector tool if you have one, and avoid drilling directly above or below sockets and switches where cables commonly run.
Measuring and Marking Accurately
Good measuring is mostly patience. Measure twice, mark lightly in pencil, and check the level before you drill anything. If two people are available, one can hold the shelf while the other checks the level and marks the holes. Rushing this stage causes crooked shelves, while five extra minutes here saves patching and redrilling later.
Shelves also give you a place to display plants and personal items, which makes a house feel like home. A sunny shelf is perfect for small potted herbs and trailing plants. For kitchen windowsill ideas, our guide to growing herbs at home in pots shows which herbs suit small pots and bright spots.
DIY Home Improvement Projects for Beginners in the Kitchen
The kitchen offers several beginner-friendly improvements that make daily life easier. Replacing cupboard handles is one of the simplest: unscrew the old handle, line up the new one, and screw it in place. If the new handles have different hole spacing, fill the old holes, let the filler dry, sand smooth, and drill fresh holes. This single change can modernise a whole kitchen in an afternoon.
Replacing a dripping tap washer is another useful first plumbing job. Turn off the water supply, open the tap to release pressure, and carefully dismantle the tap following the maker’s instructions. Replace the worn washer with an exact match, reassemble, and turn the water back on slowly while checking for leaks. If the tap still drips, or if you meet seized parts or damaged pipes, stop and call a plumber rather than forcing anything.
A tiled splashback refresh is a satisfying weekend project. Clean the existing tiles thoroughly, repair any cracked grout, and consider regrouting or painting tiles with specialist tile paint for a fresh look. For a new splashback, measure carefully, plan the tile layout on a flat surface first, and work in small sections with even adhesive. Good tiling is mostly patience and preparation, and the result protects your walls from cooking splashes for years.
Draught-Proofing, Sealing and Small Energy Fixes
Draught-proofing is a beginner project with immediate rewards: warmer rooms and lower heating bills. Check around doors and windows on a windy day by holding a hand near the edges and feeling for cold air. Self-adhesive foam strips fit most door and window frames, while brush strips suit the bottom of doors. Measure, cut to length, press firmly into place, and test that the door or window still closes easily.
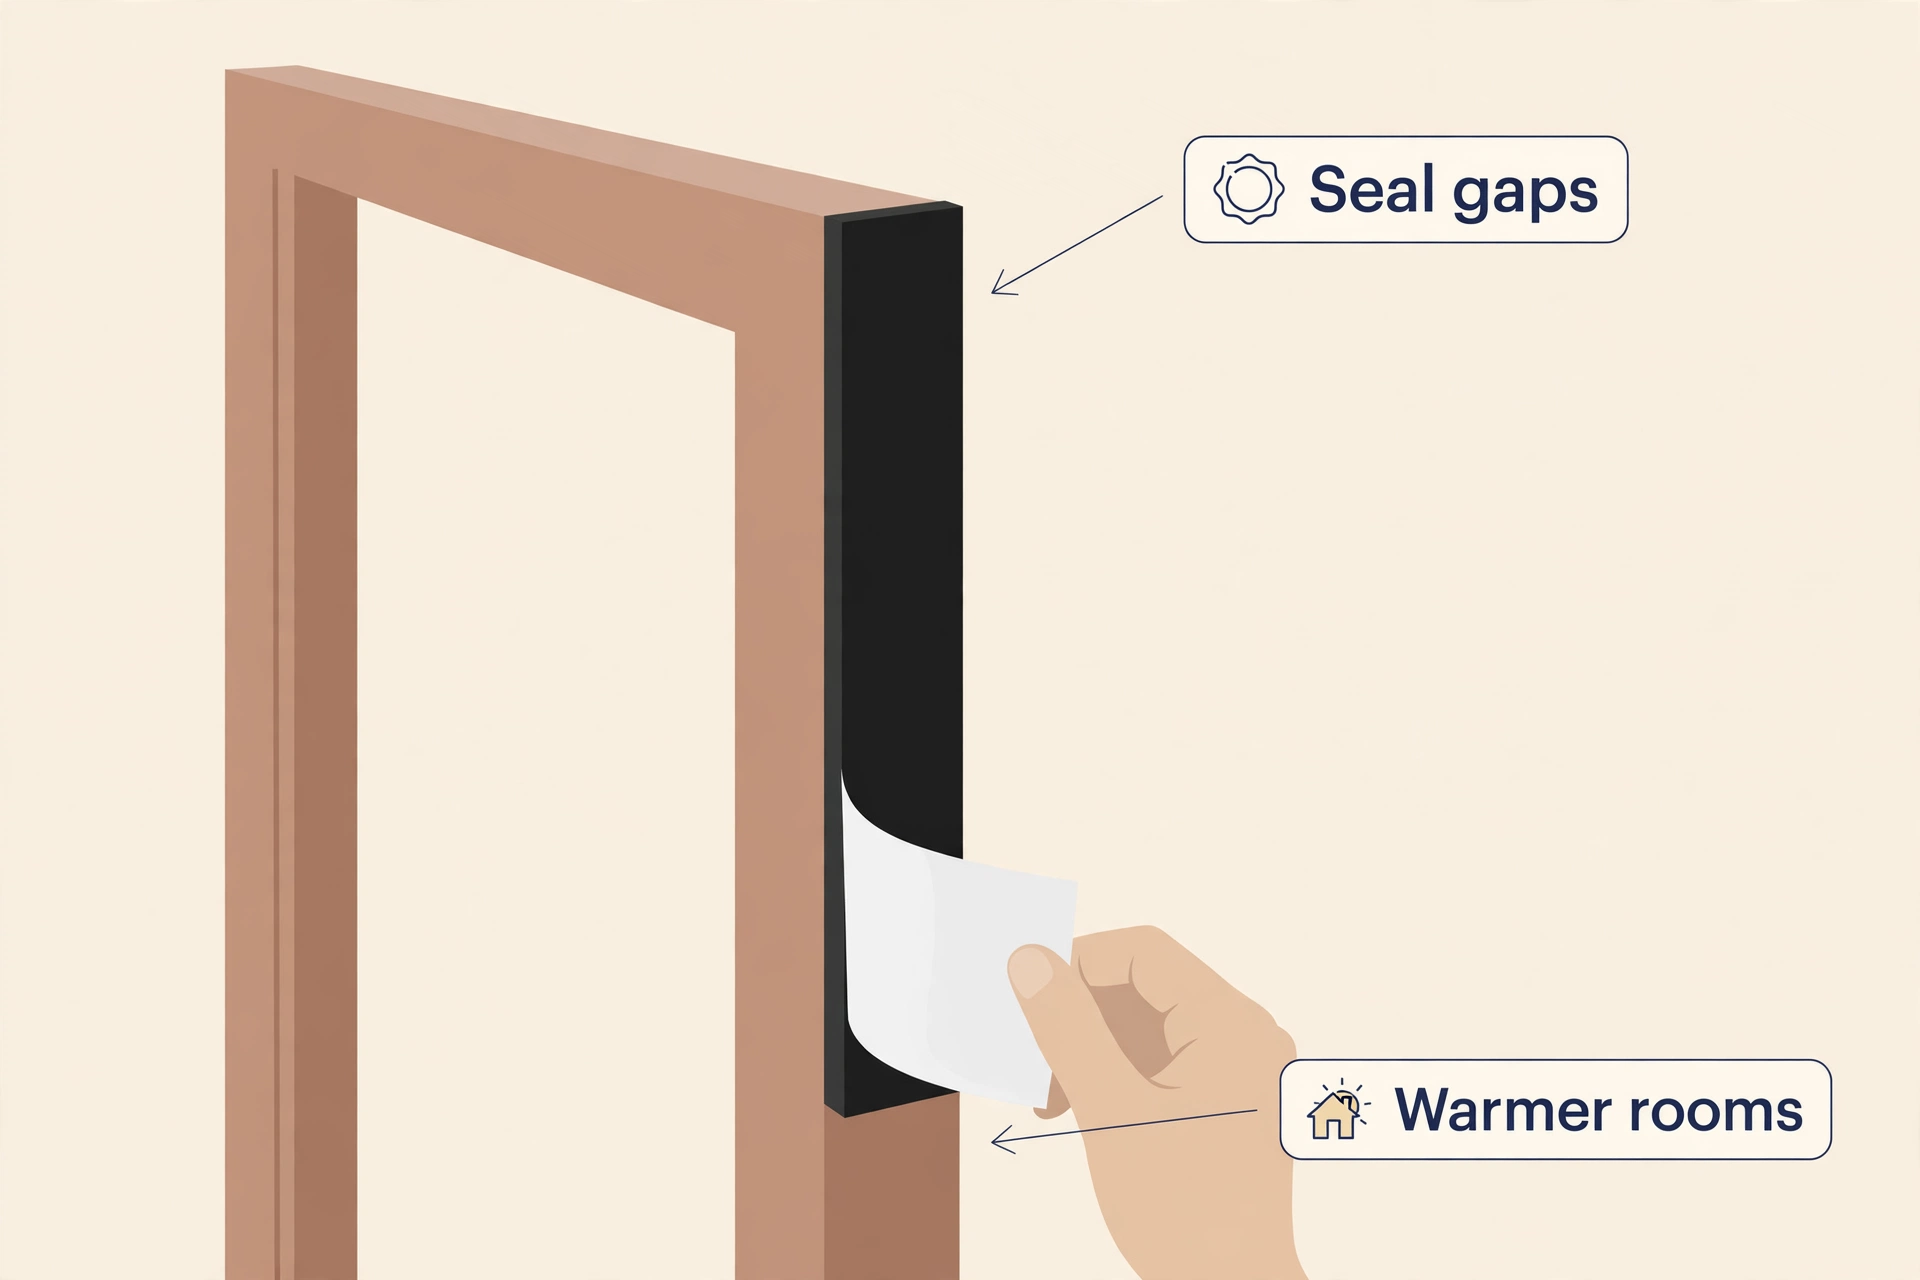
Sealing gaps is equally simple and effective. Use a sealant gun and bathroom sealant to reseal around baths, showers and sinks where old sealant has cracked or blackened. Remove the old sealant first, clean and dry the surface, apply a smooth bead, and shape it with a wet finger or a shaping tool. Fresh sealant prevents water damage and instantly makes a bathroom look cared for.
Other small energy fixes include fitting radiator reflector panels behind radiators on outside walls, bleeding radiators that are cold at the top, and replacing old draughty curtains with heavier lined ones. None of these jobs needs specialist skill, but together they make a home noticeably warmer. Choosing greener materials for these jobs also helps, and our guide to the best eco-friendly products for the home offers practical, lower-impact options.
Simple Flooring and Wall Repairs
Small flooring and wall repairs are excellent confidence builders. A squeaky floorboard can often be fixed by screwing the board down to the joist below, after checking there are no pipes or cables underneath. A scratched wooden floor can be improved with a wood repair stick or a careful sand and refinish of the damaged area. Laminate planks that have lifted can sometimes be clicked back into place after clearing debris from the joint.
Fixing Small Holes and Scuffed Walls
Small holes in plasterboard are easy to repair. Clean the hole, apply filler with a filling knife, let it dry, sand it smooth, and repeat with a thin second layer if needed. Prime the repaired patch before painting, so the finish matches the rest of the wall. For larger holes, a self-adhesive repair patch gives the filler something to grip, and following the patch instructions carefully produces a surprisingly strong repair.
Scuffed paint and marked skirting boards respond well to a gentle clean first, then a touch-up with matching paint. Keep a small labelled pot of each room’s paint for exactly this purpose. Touch-ups take minutes, but they keep rooms looking fresh between full repaints. For larger wall projects, handmade touches add charm: our guide to DIY home decor easy projects for every room shows simple decor ideas that pair well with freshly repaired walls.
Build Skills Gradually and Know When to Hire Help
The best way to grow as a DIYer is to increase difficulty slowly. After painting and shelves, try flat-pack furniture assembly, simple garden repairs, or fitting a new light shade. Each success teaches measuring, levelling, drilling and finishing, and those skills transfer to almost every future project. Keep a notebook of what worked, what did not, and which tools you used, so each job starts smarter than the last.
At the same time, learn the boundary between DIY and professional work. Gas appliances, main electrical circuits, structural walls, roofing and major plumbing are professional jobs. A good DIYer is not someone who does everything alone; it is someone who does simple work well and hires experts for dangerous or complex work. That judgment protects your home, your safety and your money.
When a Job Feels Too Big
If a job makes you nervous, pause and get advice before you start. Ask a knowledgeable friend, watch a trusted tutorial, or get a quote from a professional for comparison. There is no shame in hiring help for one difficult stage and doing the finishing work yourself. Splitting a job this way often gives the best result at a fair price.
| Beginner Project | Main Tools Needed | Skill You Learn |
|---|---|---|
| Painting a room | Brushes, roller, tape, filler | Preparation and even coverage |
| Fitting a shelf | Drill, level, tape measure | Measuring, drilling, fixings |
| Replacing handles | Screwdriver, filler, sandpaper | Careful fitting and finishing |
| Draught-proofing | Scissors, sealant gun | Measuring and sealing gaps |
| Repairing small holes | Filling knife, sandpaper | Filling and smoothing surfaces |
Start this weekend with one small project, finish it properly, and enjoy the result. Confidence in DIY does not come from reading about it; it comes from doing one job well, then another. Your home will improve with each project, and so will you.
Frequently Asked Questions
What is the easiest DIY home improvement project for a beginner?
Painting a small room is the easiest and most rewarding start. It needs only basic tools, mistakes are simple to fix, and the result is visible immediately. After painting, try replacing cupboard handles or fitting a shelf, which teach measuring and fixing skills.
What basic tools should a beginner buy first?
Start with a tape measure, spirit level, claw hammer, screwdrivers, adjustable spanner, utility knife, pencil, painter’s tape and a cordless drill. Add paintbrushes, a roller set, sandpaper and filler as you take on decorating jobs. Quality matters most for the drill and the tape measure.
How do I know if a wall is safe to drill into?
Check for sockets, switches and pipes nearby, and use a cable and pipe detector before drilling. Avoid drilling directly above, below or beside electrical fittings, where cables often run. If you are unsure about the wall type or what lies behind it, ask a hardware shop or a professional for advice.
Can beginners do plumbing and electrical DIY?
Beginners can safely handle simple jobs like replacing a tap washer or a light shade, provided water or power is switched off first. Gas work, main electrical circuits, consumer units and major plumbing must be left to qualified professionals. When in doubt, hire help rather than risking safety.
How long does a beginner painting project take?
A small room usually takes a weekend: one day for preparation, cleaning and filling, and one day for two coats of paint with drying time between them. Larger rooms take longer, mainly because preparation and drying cannot be rushed. Plan for drying time and do not paint in very cold or damp conditions.
How Long Is a Love Seat? Standard Sizes Explained
[…] readers make confident home decisions through practical, easy-to-understand guidance on furniture, home improvement, maintenance, decor, and everyday […]