
Your kitchen works harder than any other room in the house. Every day it handles cooking, eating, spills, steam and sticky fingers, and even a kitchen that looks tidy can hide grease behind the cooker, crumbs at the back of cupboards and germs around the sink. If you want to deep clean your kitchen properly, you need more than a quick wipe of the worktops. You need a plan that covers every surface, appliance and hidden corner.
The good news is that a deep clean does not have to take all weekend. With the right order, a few basic supplies and a room-by-room approach, most kitchens can be deep cleaned in three to four hours. In this guide, we will walk through the whole job step by step, from clearing cupboards to degreasing the oven, so you can finish with a kitchen that looks, smells and feels genuinely fresh.
Why a Deep Clean Is Worth the Effort
A daily tidy keeps things looking pleasant, but it rarely reaches the places where dirt builds up slowly. Grease settles on top of cupboards and around the hob. Food spills dry inside the fridge and microwave. Limescale creeps around taps, and dust gathers behind large appliances. Over time, these hidden layers attract pests, cause smells and make everyday cooking less pleasant.
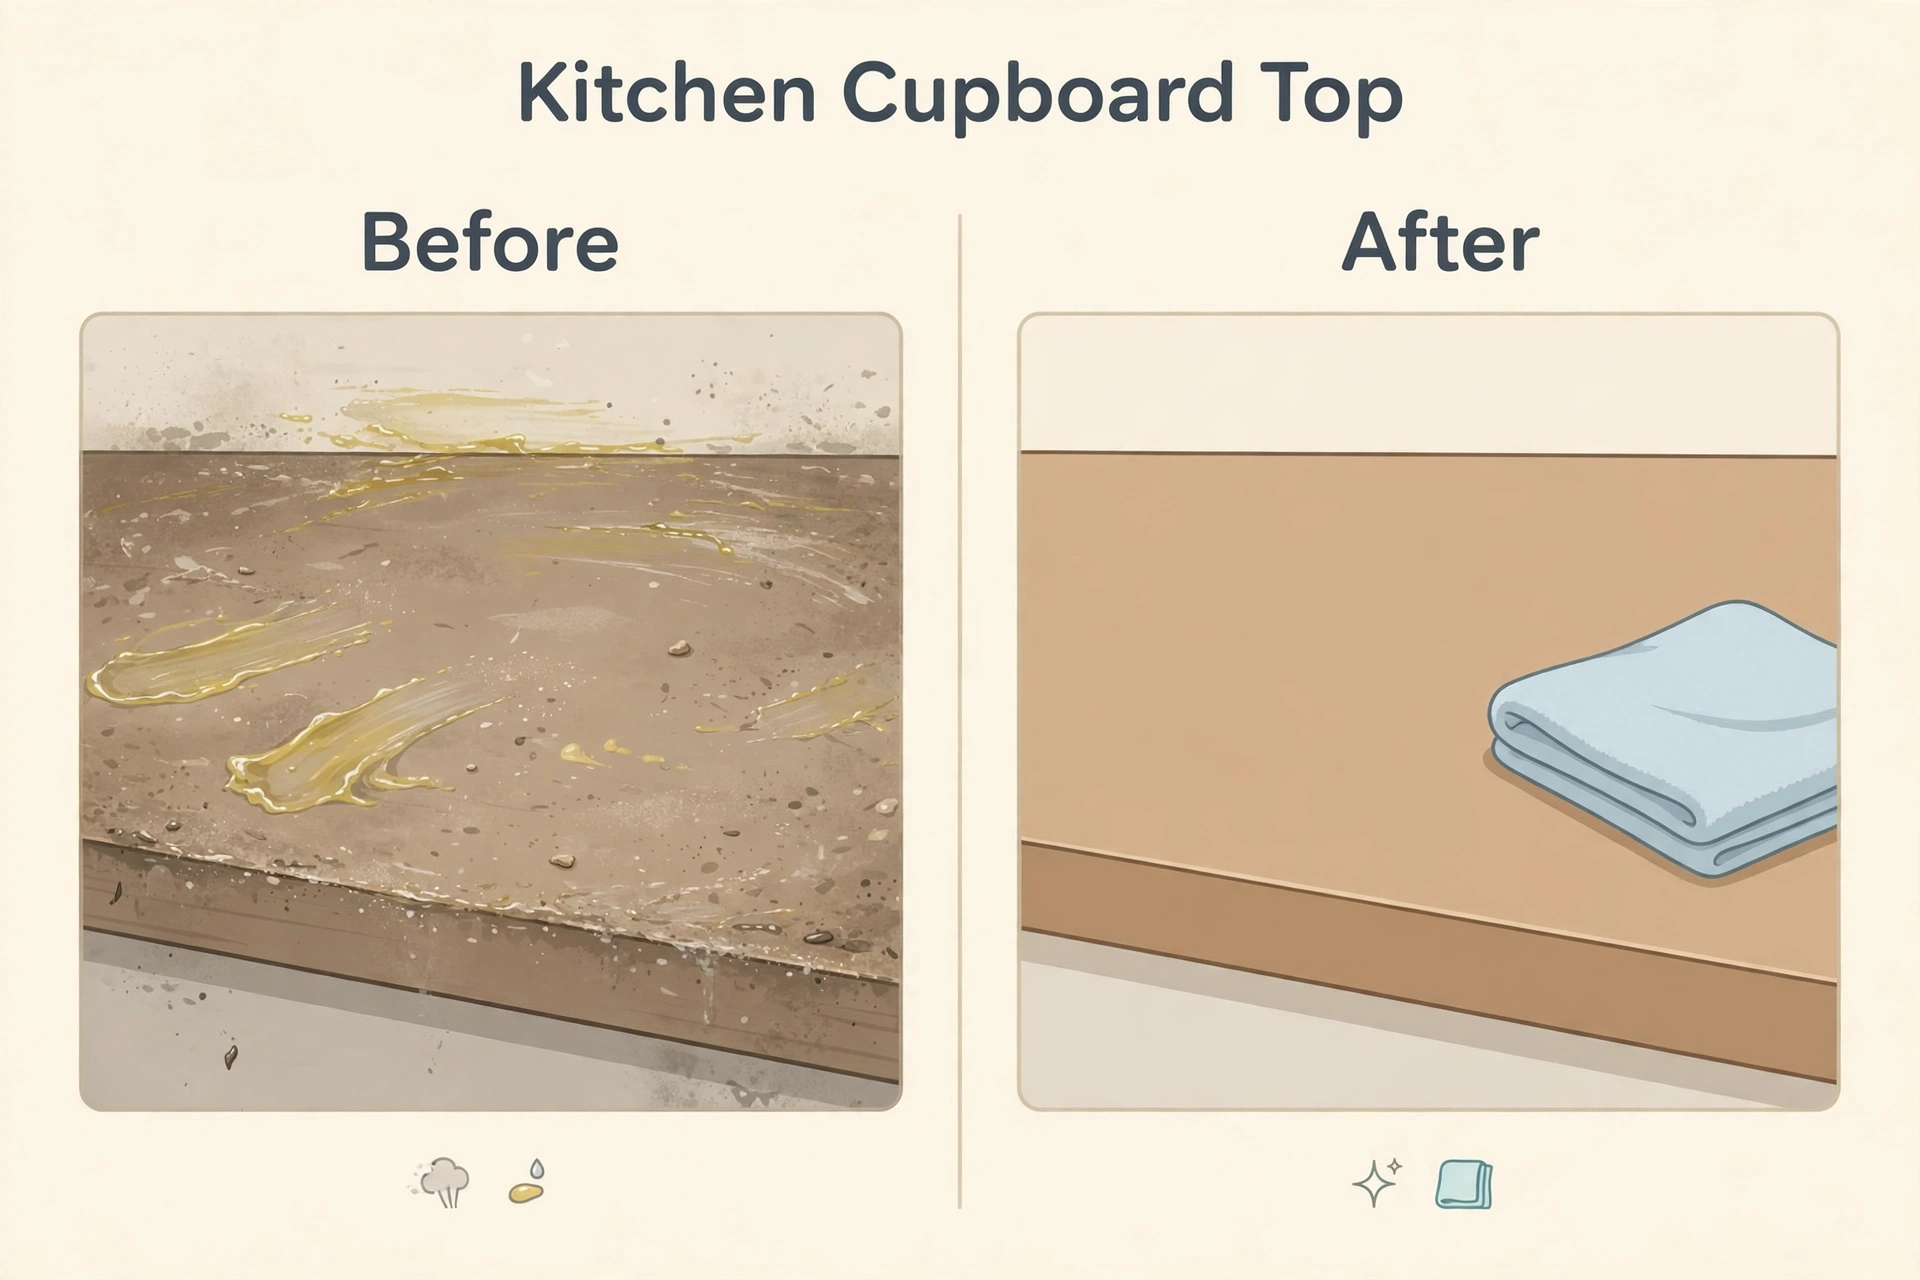
A proper deep clean resets the whole room. It also makes daily cleaning easier afterwards, because you are maintaining clean surfaces instead of fighting layers of old grime. Many people deep clean their kitchen twice a year, in spring and autumn, and add a lighter version every few months.
Before You Start: Supplies and a Simple Plan
Preparation saves more time than any cleaning product. Gather everything first so you are not stopping halfway through to hunt for a cloth or a spray. You do not need expensive specialist products for most of the job. Warm water, washing-up liquid, white vinegar, bicarbonate of soda and a good degreaser will handle almost everything in a normal kitchen.
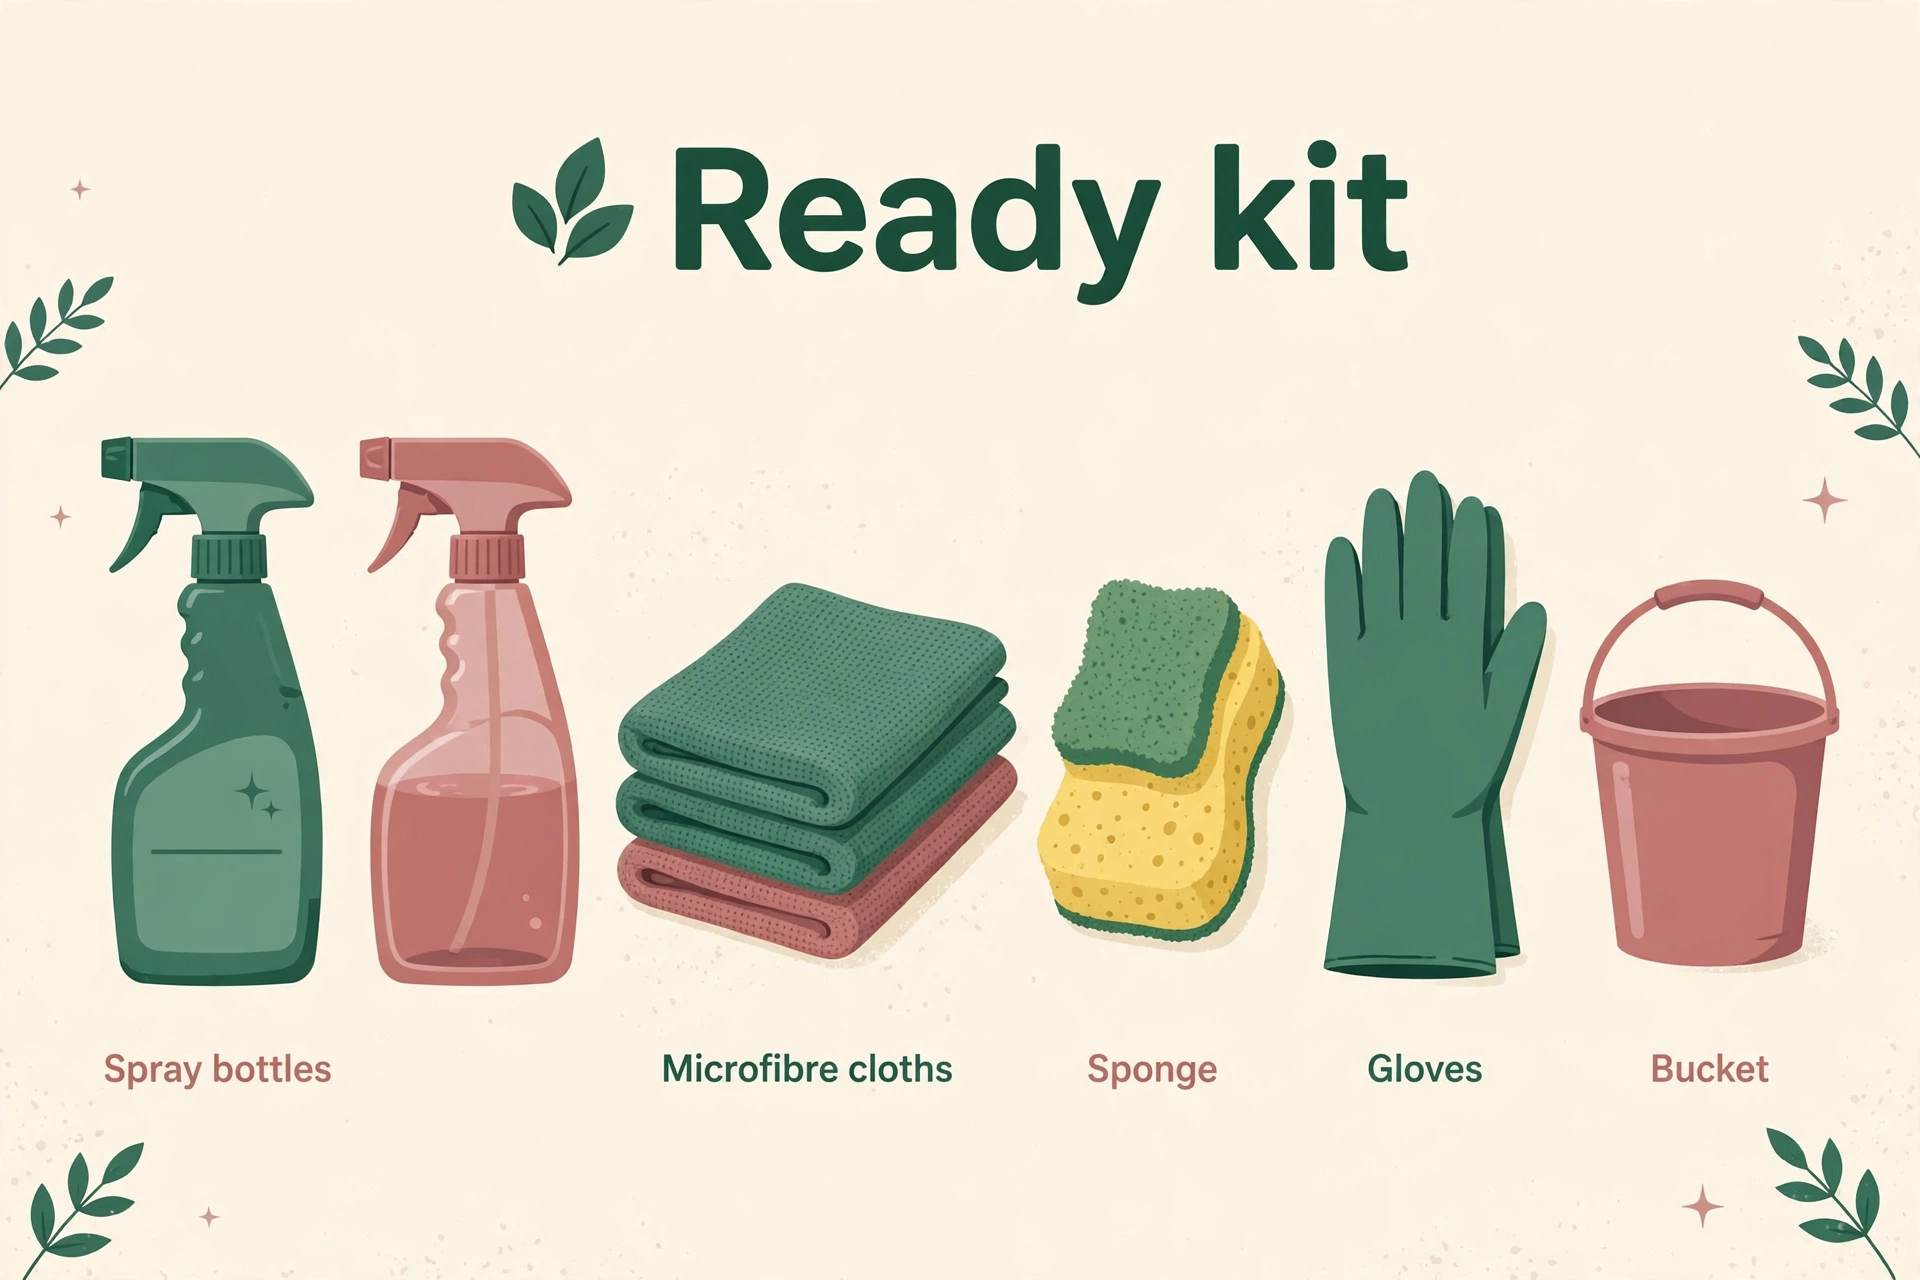
Supplies You Will Need
- Cloths and sponges: Several microfibre cloths, a non-scratch sponge and an old toothbrush for edges and grout.
- Basic cleaners: Washing-up liquid, all-purpose spray, white vinegar and bicarbonate of soda.
- Degreaser: A kitchen degreaser for the hob, extractor and greasy cupboard fronts.
- Extras: Rubber gloves, a bucket, bin bags, a step stool and labels for anything you reorganise.
Work from top to bottom and from dry to damp. That means ceilings and cupboard tops first, then walls and cupboard fronts, then appliances, then worktops and the sink, and finally the floor. This way, dust and drips fall onto areas you have not cleaned yet, instead of dirtying work you have already finished.
Set a Realistic Order of Work
Start by taking out the rubbish, clearing the worktops and loading the dishwasher or washing up. Next, empty one area at a time rather than pulling everything out at once. For example, clear one cupboard, clean it, put things back, and then move on. This keeps the job manageable and stops the kitchen turning into chaos halfway through.
If the whole job feels too big for one session, split it across two days. Day one can cover cupboards, the fridge and pantry, while day two covers appliances, surfaces and floors. A steady routine elsewhere in the house helps too, and a simple weekly routine that actually sticks will keep the rest of your home in good shape while you focus on the kitchen.
Clear and Clean Cupboards and Drawers
Cupboards hide more dirt than most people expect. Crumbs collect at the bottom, jars leak sticky rings, and the tops of wall cupboards gather a thick layer of dusty grease. Start at the top of the room and work down, and do one cupboard at a time so you can see real progress.
Inside Cupboards and the Pantry
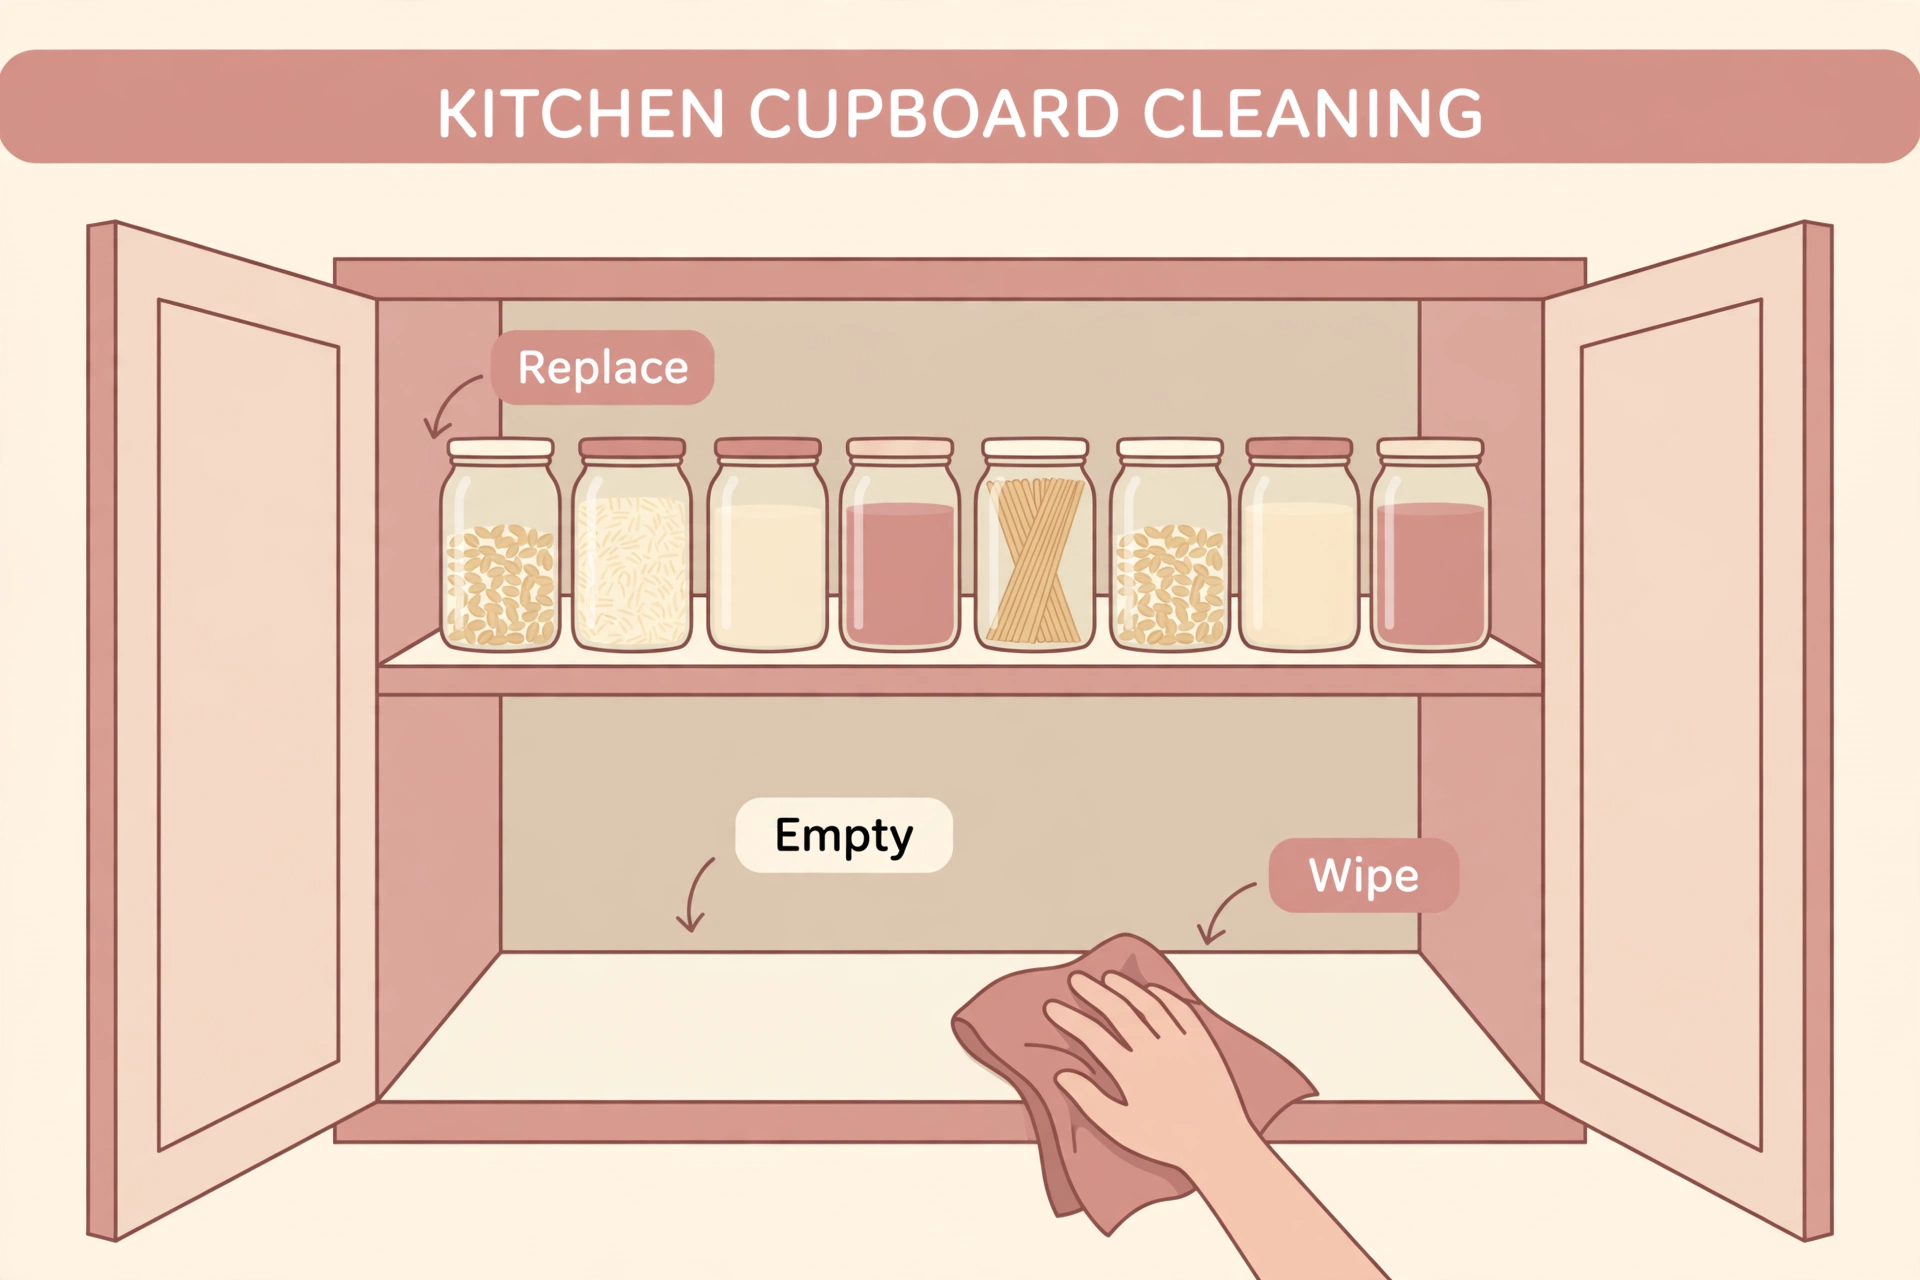
Empty the cupboard completely, then vacuum or brush out crumbs. Wipe the shelves with warm soapy water and dry them before anything goes back. While the shelves are empty, check every item. Throw away anything out of date, stale or damaged, and wipe sticky jars and bottles before returning them.
Use this chance to reorganise sensibly. Put everyday items at eye level and heavy items low down. Group similar things together, such as baking supplies, tinned food and spices, and keep the items you use least at the back or on the highest shelf.
Doors, Drawers and Handles
Wipe cupboard doors and drawer fronts with warm soapy water, paying attention to the edges and corners where grease collects. For stubborn grease, a degreaser or a paste of bicarbonate of soda and water left for a few minutes usually lifts it without damaging the finish. Always test a new cleaner on a hidden spot first.
Clean handles and knobs carefully, since hands touch them every day. Remove them if you can, wash them in warm soapy water, dry them fully and refit them. Inside drawers, remove crumbs and old liners, wipe the base, and replace torn or stained liners with fresh ones. A quick tidy of the cutlery drawer now saves daily frustration later.
Deep Clean Your Kitchen Appliances
Appliances do the hardest work in the kitchen, so they deserve the most attention in a deep clean. Grease, food splashes and smells build up inside and outside them, and a regular wipe rarely reaches every part. Work through them one at a time, and always switch off and unplug electrical appliances before cleaning inside them.
The Fridge and Freezer
Start with the fridge. Remove all food, throw away anything out of date, and take out shelves and drawers. Wash them in warm soapy water, dry them completely, and wipe the inside walls with a solution of warm water and a little bicarbonate of soda, which cleans and deodorises without leaving a chemical smell.
Wipe the door seals with a damp cloth, because mould and crumbs often hide in the folds. Clean the outside, including the top and the handles, and vacuum the coils at the back if you can reach them safely. Put food back neatly, with soonest-to-expire items at the front, and wipe any sticky containers before they return to the shelves.
For the freezer, remove frost build-up if needed and wipe the drawers and baskets. If your freezer needs defrosting, plan this the day before your deep clean so food can be kept cool elsewhere. Once everything is clean and dry, your fridge will smell fresher and your food will stay in better condition.
The Oven, Hob and Extractor
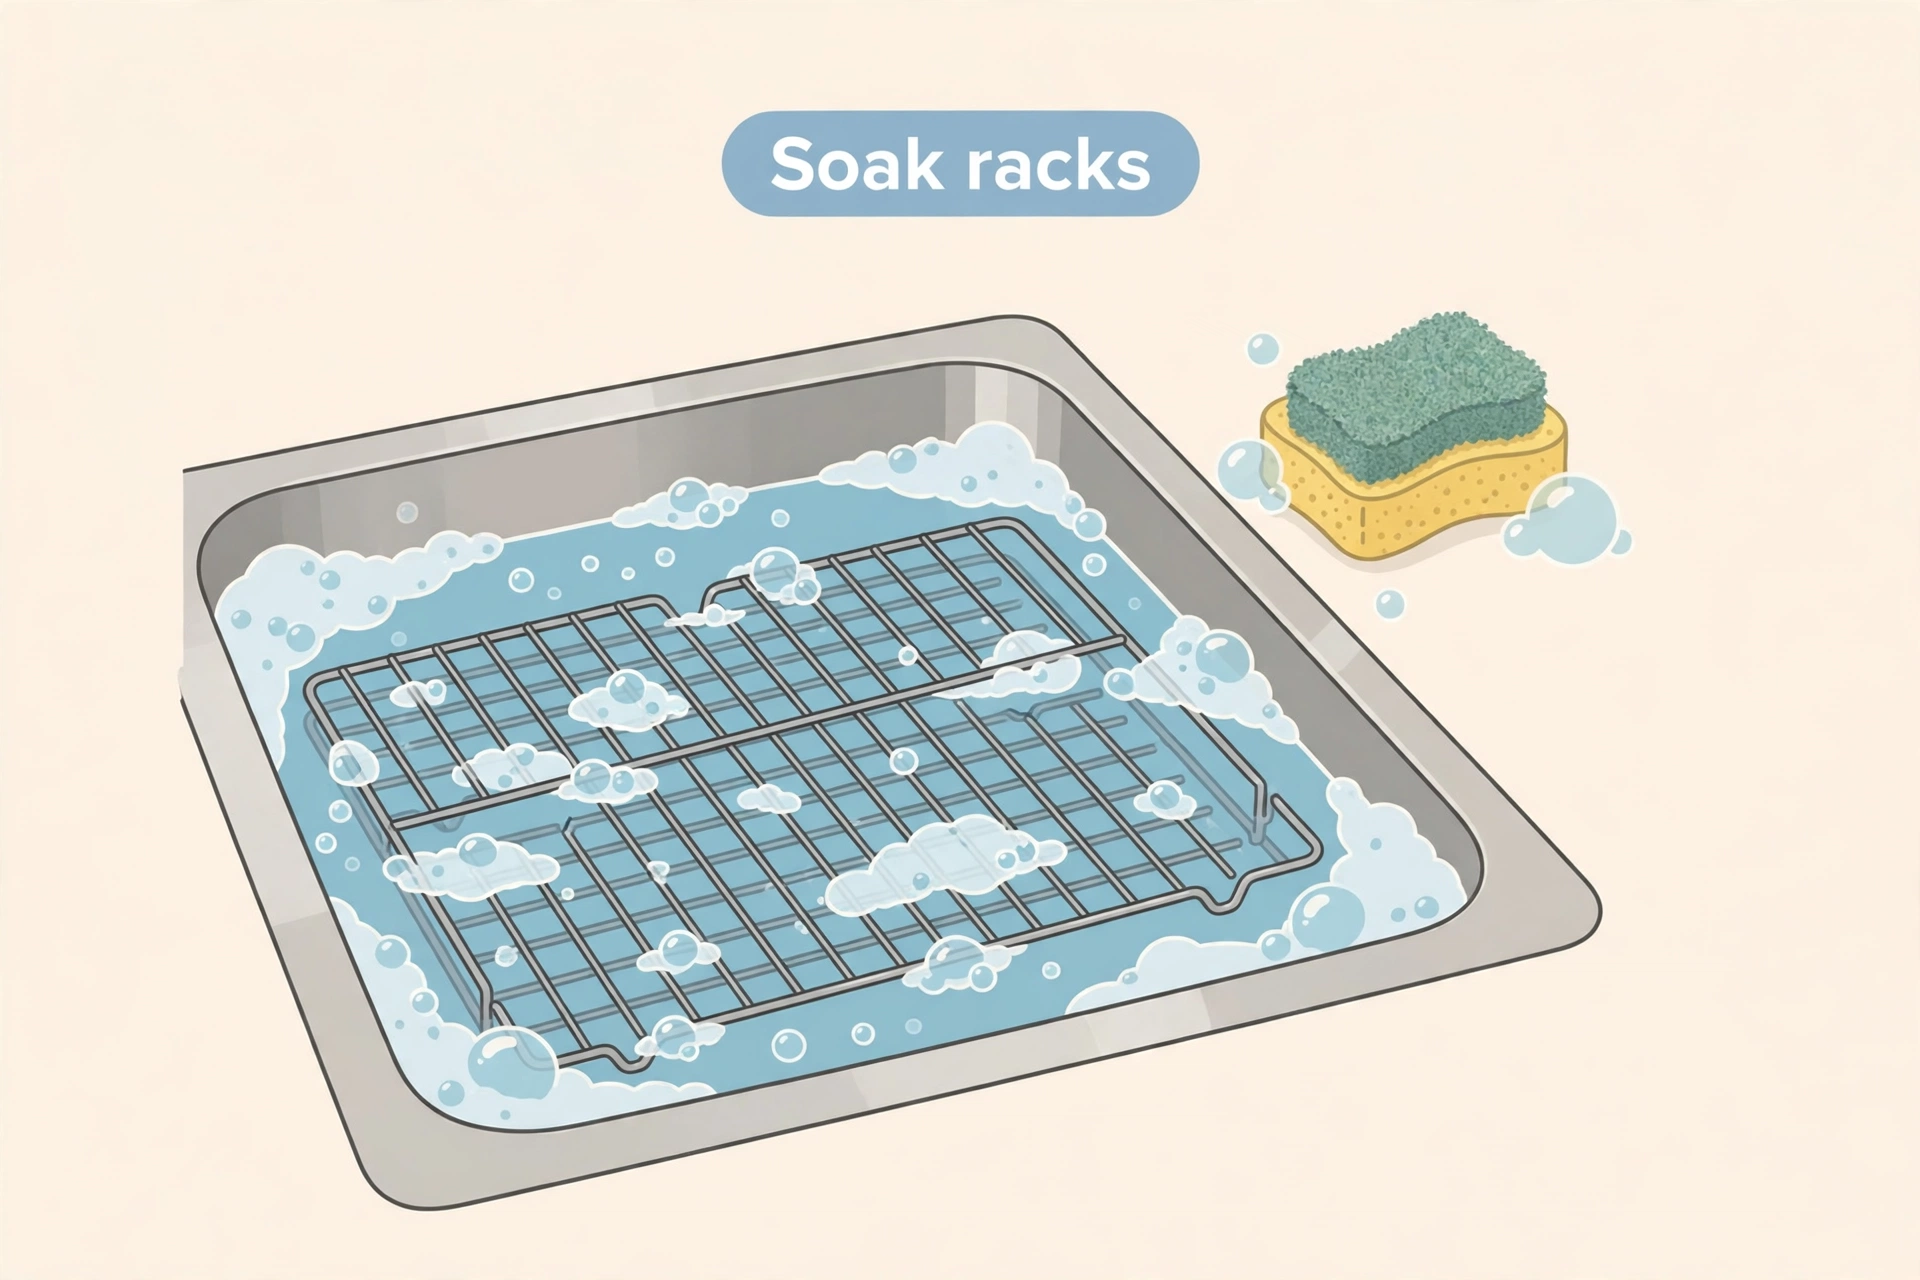
The oven usually takes the longest, so start it early. Remove racks and trays and soak them in warm soapy water or a bath of hot water and washing-up liquid. While they soak, apply oven cleaner or a bicarbonate of soda paste to the inside, leave it to work for the time shown on the product, then wipe and rinse carefully.
For the hob, remove pan supports and knobs where possible and wash them separately. Wipe the hob surface with a degreaser, and use a scraper or old toothbrush for burnt-on food around burners and edges. Clean the extractor filters by soaking them in hot soapy water and degreaser, then drying them fully before replacing them. Clean filters work better and reduce cooking smells.
Do not forget smaller appliances. Wipe the outside of the kettle, toaster and coffee machine, empty crumbs from the toaster, descale the kettle if needed, and clean the microwave inside and out. A bowl of water with lemon slices, heated for a few minutes, loosens microwave splashes so they wipe away easily.
Sink, Taps and Worktops
The sink is one of the busiest and germiest spots in the kitchen, so it deserves a thorough clean. Wash it with warm soapy water, then use bicarbonate of soda and vinegar for stains and limescale. Pay attention to the drain, the overflow and the area where the tap meets the sink, where grime often hides.
Removing Limescale and Smells
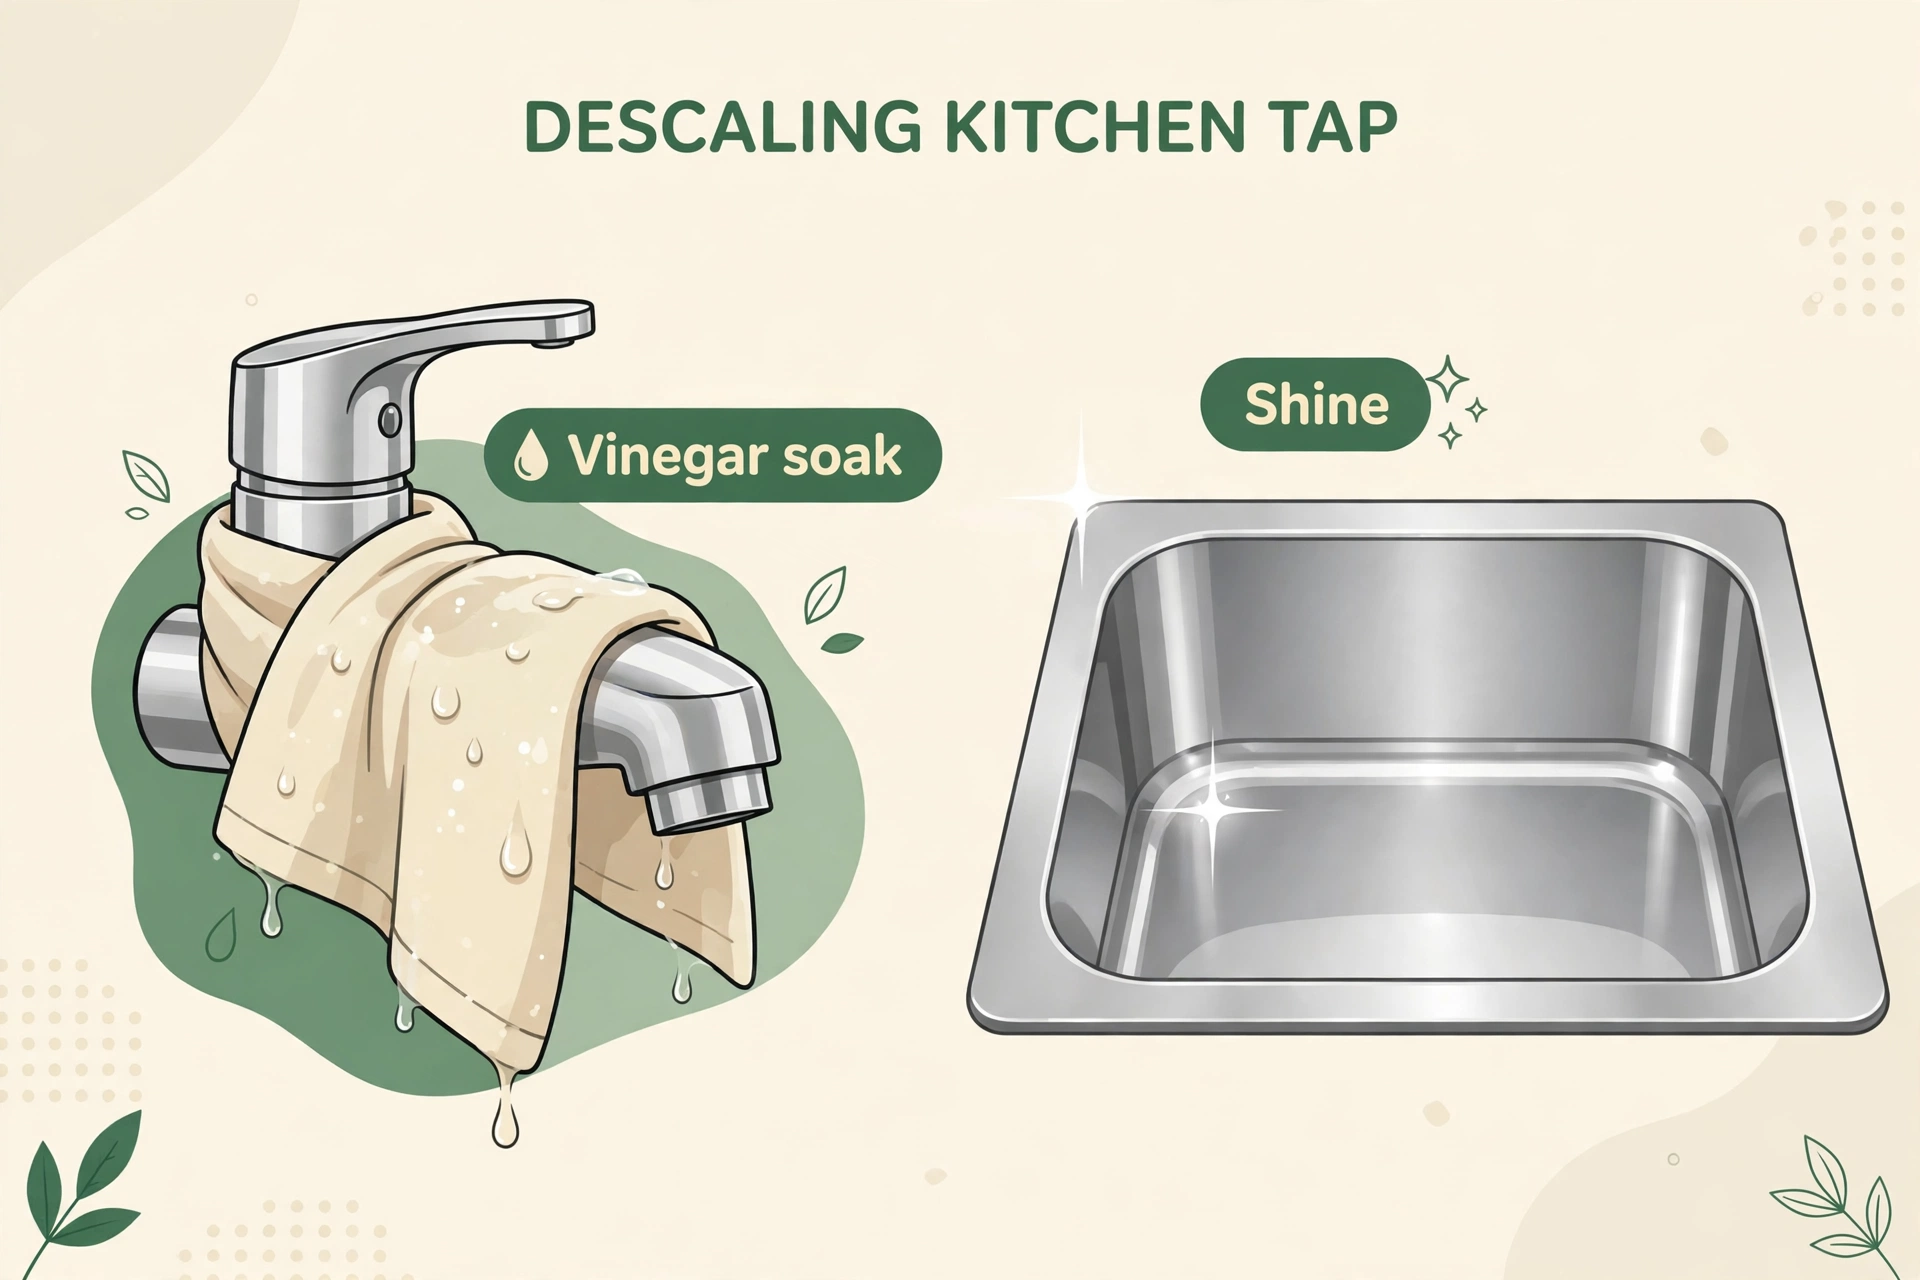
For limescale on taps, wrap a cloth soaked in white vinegar around the tap for twenty minutes, then wipe and polish. For a smelly drain, pour bicarbonate of soda down the drain, follow with vinegar, wait fifteen minutes, then flush with hot water. Clean the plug, strainer and washing-up brush or sponge holder too, and replace sponges that smell or look worn.
Worktops need care matched to their material. Laminate worktops handle warm soapy water well, while wood needs gentle cleaning and occasional oiling, and stone surfaces need a cleaner suited to stone. Avoid harsh bleach on worktops unless the maker says it is safe, and always wipe spills straight away to prevent stains. If you are planning a wider refresh, our guide to easy DIY home decor projects for every room offers simple ideas that pair well with a freshly cleaned kitchen.
Floors, Walls and Small Details
Once the upper areas are done, turn to the walls and floor. Wipe splashbacks and tiled walls with warm soapy water, and use an old toothbrush on grout lines. Wash light switches, plug sockets and door handles, and wipe the tops of door frames and window sills, where dust settles unnoticed.
For the floor, sweep or vacuum first, including under movable appliances and along skirting boards. Then mop with a cleaner suited to your floor type, changing the water when it turns dirty. Pay attention to corners, the area around the bin and under the sink, where spills often reach the floor. Let the floor dry fully before putting rugs or mats back.
Small details make a big difference to how fresh the room feels. Wash tea towels, oven gloves and reusable cloths, clean the bin inside and out, replace the bin liner, and wipe the windowsill and any open shelving. If your kitchen opens onto a living space, a tidy living room helps the whole home feel finished, and our living room decor ideas that actually work can help you style that next space without a big budget.
| Kitchen Area | Deep Clean Task | How Often |
|---|---|---|
| Cupboards and pantry | Empty, wipe shelves, check dates, reorganise | Every 3 to 6 months |
| Fridge and freezer | Wash shelves, wipe seals, clear old food | Every 1 to 3 months |
| Oven and hob | Degrease, soak racks, clean filters | Every 1 to 3 months |
| Sink and taps | Descale, clean drain, replace sponges | Monthly |
| Floors and walls | Mop, clean grout, wipe splashbacks | Monthly deep wash |
Keep Your Kitchen Clean Afterwards
A deep clean is much easier to maintain than to repeat from scratch. The secret is small daily habits. Wipe worktops after cooking, wash dishes or load the dishwasher the same evening, and wipe spills as soon as they happen. These tiny actions prevent grease and stains from hardening into bigger jobs.
Set a weekly rhythm too. Once a week, wipe cupboard fronts and handles, clean the sink thoroughly, take out and wash the bin, and mop the floor. Once a month, check the fridge for out-of-date food, clean the microwave, and descale taps and the kettle. Keeping a short checklist on the fridge helps the whole household share the work.
Finally, keep cleaning supplies easy to reach. Store your most-used sprays and cloths under the sink or in a small caddy, and replace worn cloths and sponges regularly. For gentler everyday products, see our guide to the best eco-friendly products for the home. A clean, organised kitchen is more pleasant to cook in, easier to keep safe, and far more welcoming when family or guests visit.
Frequently Asked Questions
How long does it take to deep clean a kitchen?
Most average kitchens take three to four hours for a full deep clean, including cupboards and appliances. Larger kitchens or very greasy ovens can take five to six hours. Splitting the job across two days makes it much easier if you are short on time.
What is the best order to deep clean a kitchen?
Work from top to bottom and from the least dirty areas to the dirtiest. Start with cupboard tops and walls, then cupboards and appliances, then worktops and the sink, and finish with the floor. This stops dust and dirty water falling onto surfaces you have already cleaned.
Can I deep clean my kitchen with vinegar and bicarbonate of soda?
Yes, for most jobs. Vinegar cuts limescale and grease, while bicarbonate of soda deodorises and gently scrubs. However, do not use vinegar on natural stone worktops, and always check the care advice for your appliances before using a homemade cleaner.
How often should I deep clean my kitchen?
Twice a year works well for most homes, with lighter deep cleans every few months for the fridge, oven and sink. If you cook daily or have pets, deep clean every three months to keep grease and smells under control.
Should I empty all cupboards for a deep clean?
Yes, one cupboard at a time. Emptying lets you clean shelves properly, check expiry dates and reorganise. Doing one cupboard at a time keeps the job manageable and avoids turning the whole kitchen upside down at once.

Best Natural Cleaning Products for Home (And What to Avoid)
[…] not dirty a surface you just cleaned. If you want a full step-by-step plan for the whole room, this complete kitchen deep-clean guide walks through each zone in a sensible […]
How to Clean Your House Fast: Room-by-Room Guide
[…] anything past its best, then wipe one shelf. For a deeper session another day, follow our guide to how to deep clean your kitchen from top to […]