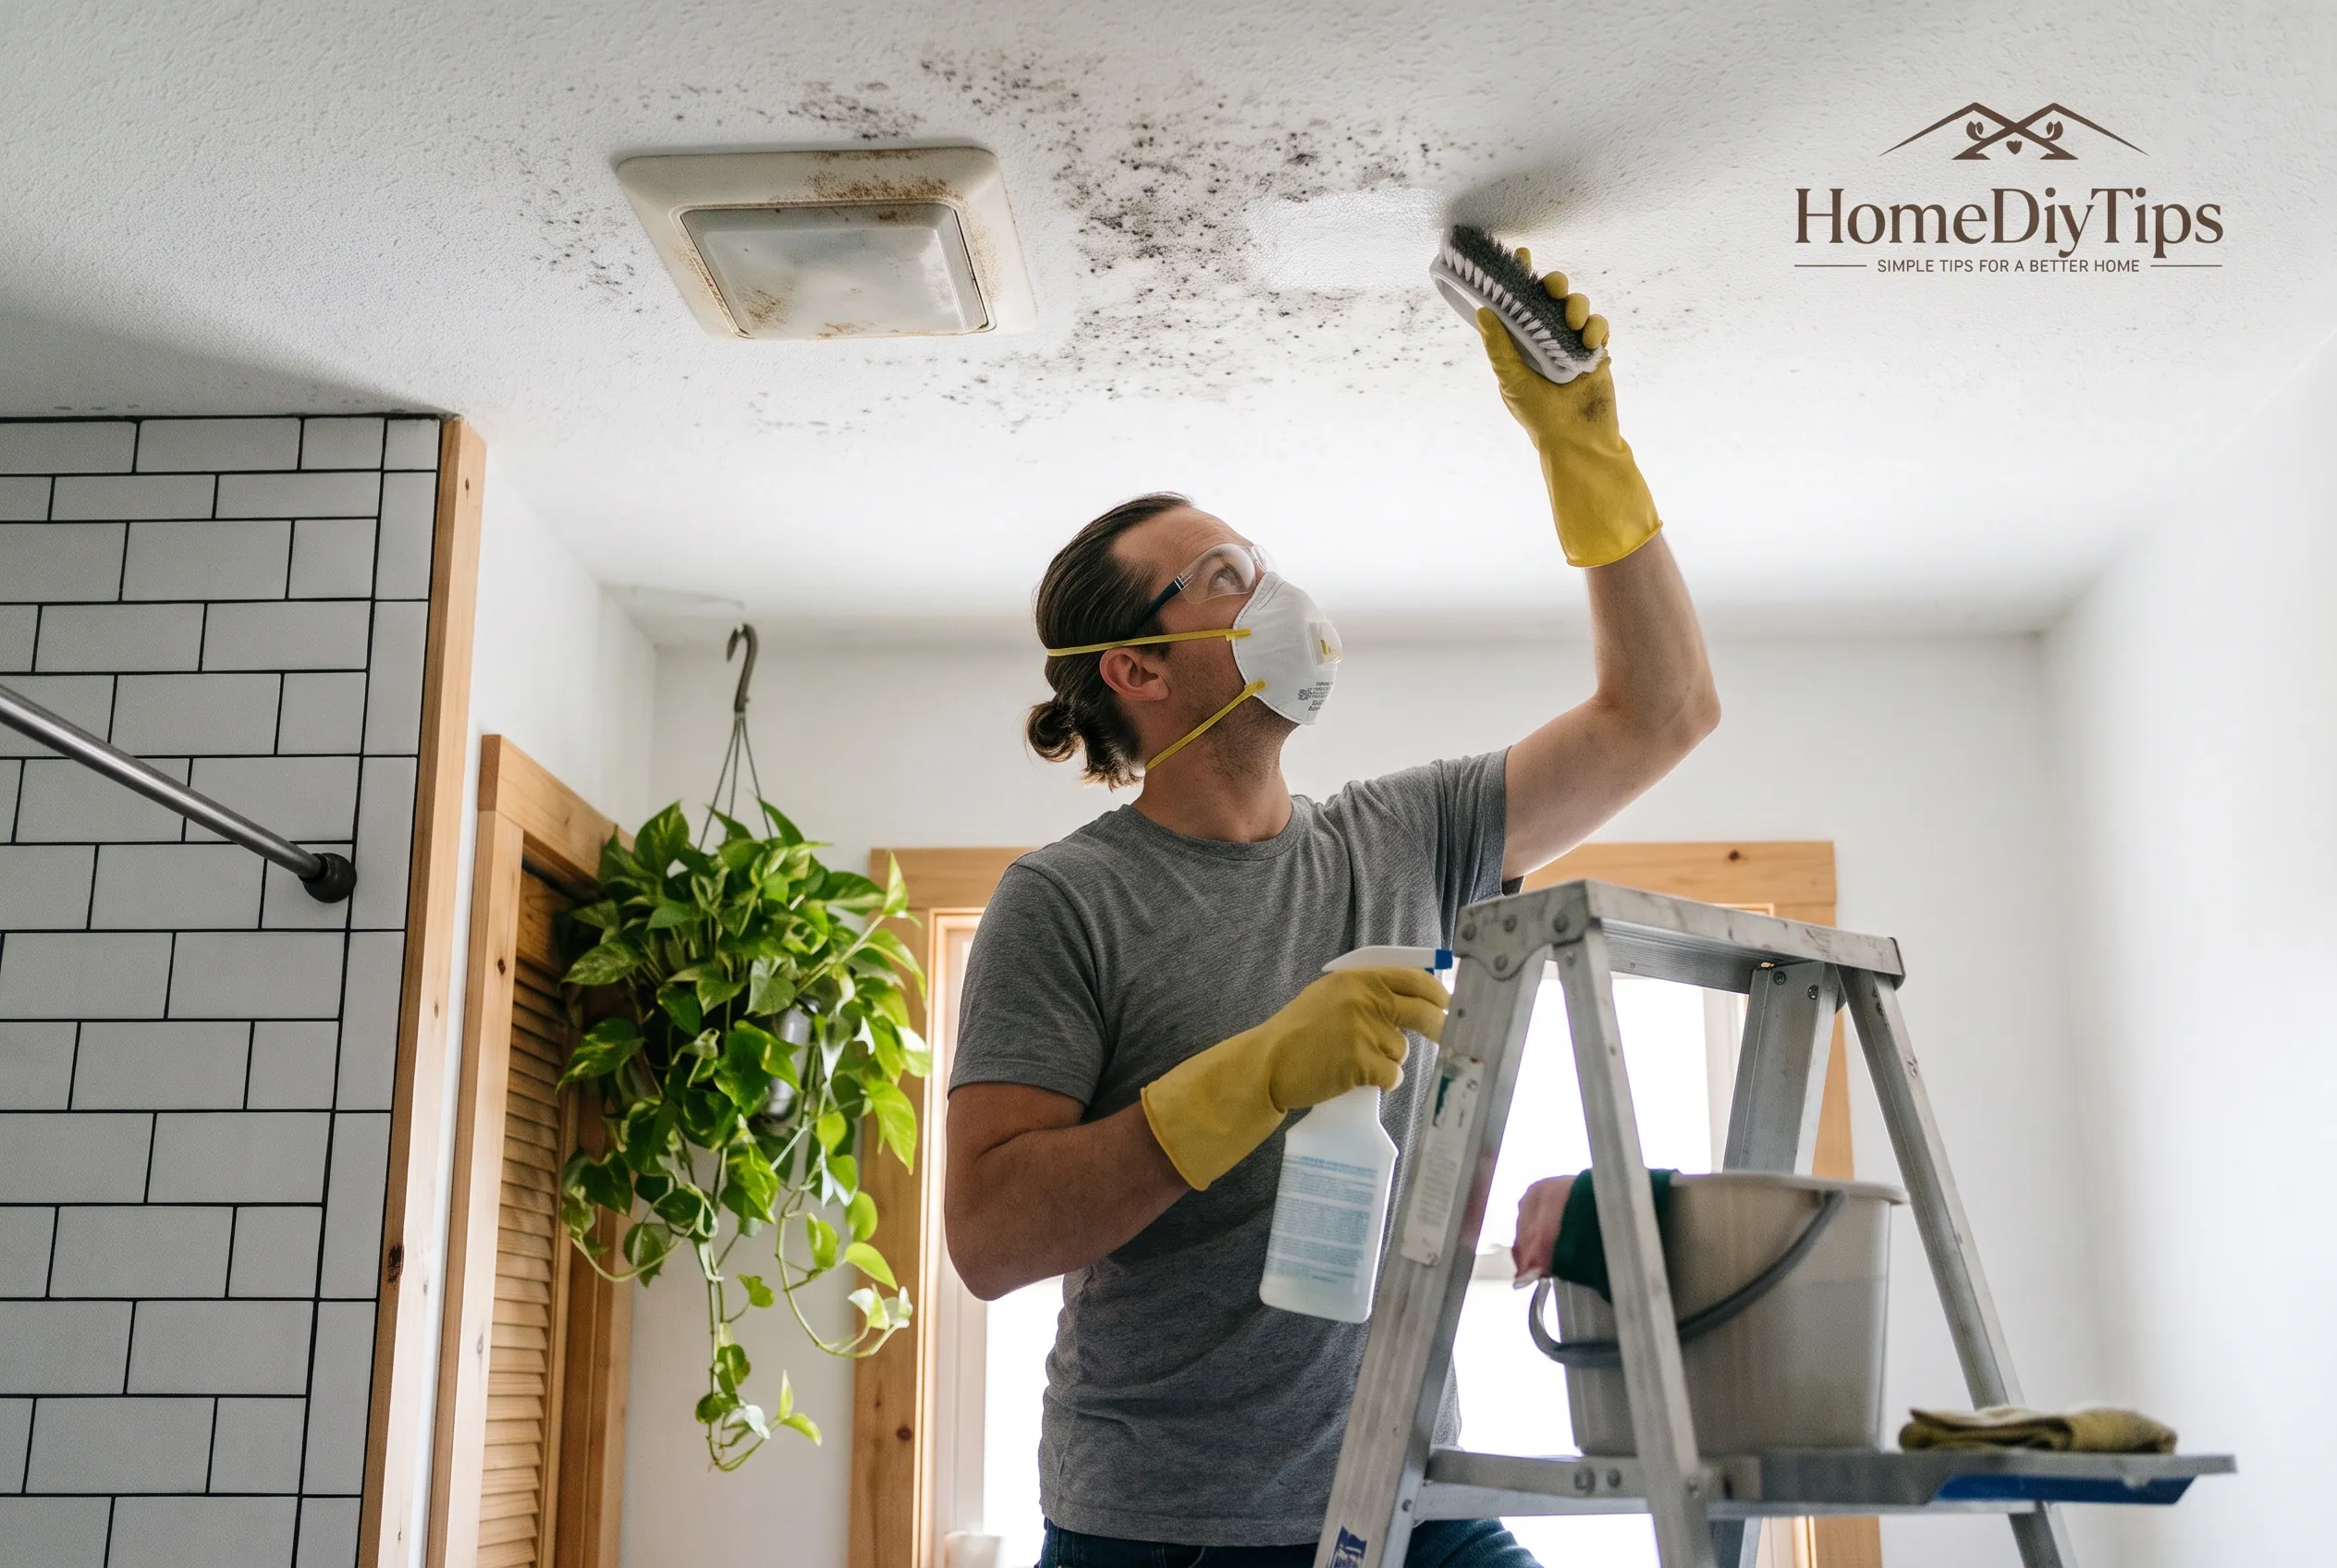
Mold on a bathroom ceiling often develops when warm, damp air meets a cooler surface. You may notice small black, gray, or green spots above the shower, around a ceiling vent, or near the bathroom walls. The good news is that small patches of surface mold can often be cleaned without replacing the entire ceiling.
To get mold off a bathroom ceiling safely, first check the ceiling for water damage. If the paint is intact and the mold is limited to a small surface area, carefully clean it with a suitable cleaning solution, follow the product directions, and dry the surface completely. Then address the moisture that allowed mold to grow. If the ceiling is soft, swollen, sagging, or extensively affected, stop and arrange a professional assessment instead.
The right method depends on the ceiling material and its condition. A washable painted surface needs different care from damp drywall or a damaged ceiling tile. Here is how to choose a suitable approach, remove surface mold, and reduce the chance of it returning.
Short Definition
To remove mold from a bathroom ceiling, gently clean small surface patches with a suitable method, dry the area completely, and fix the moisture source. Damaged or extensive growth may need professional help.
Experience
Before choosing a cleaner, check whether your ceiling paint is peeling or the drywall feels damaged. Gentle cleaning may work for small surface patches, but persistent moisture or damaged material needs further attention.
What Is the Safest Way to Remove Mold From a Bathroom Ceiling?
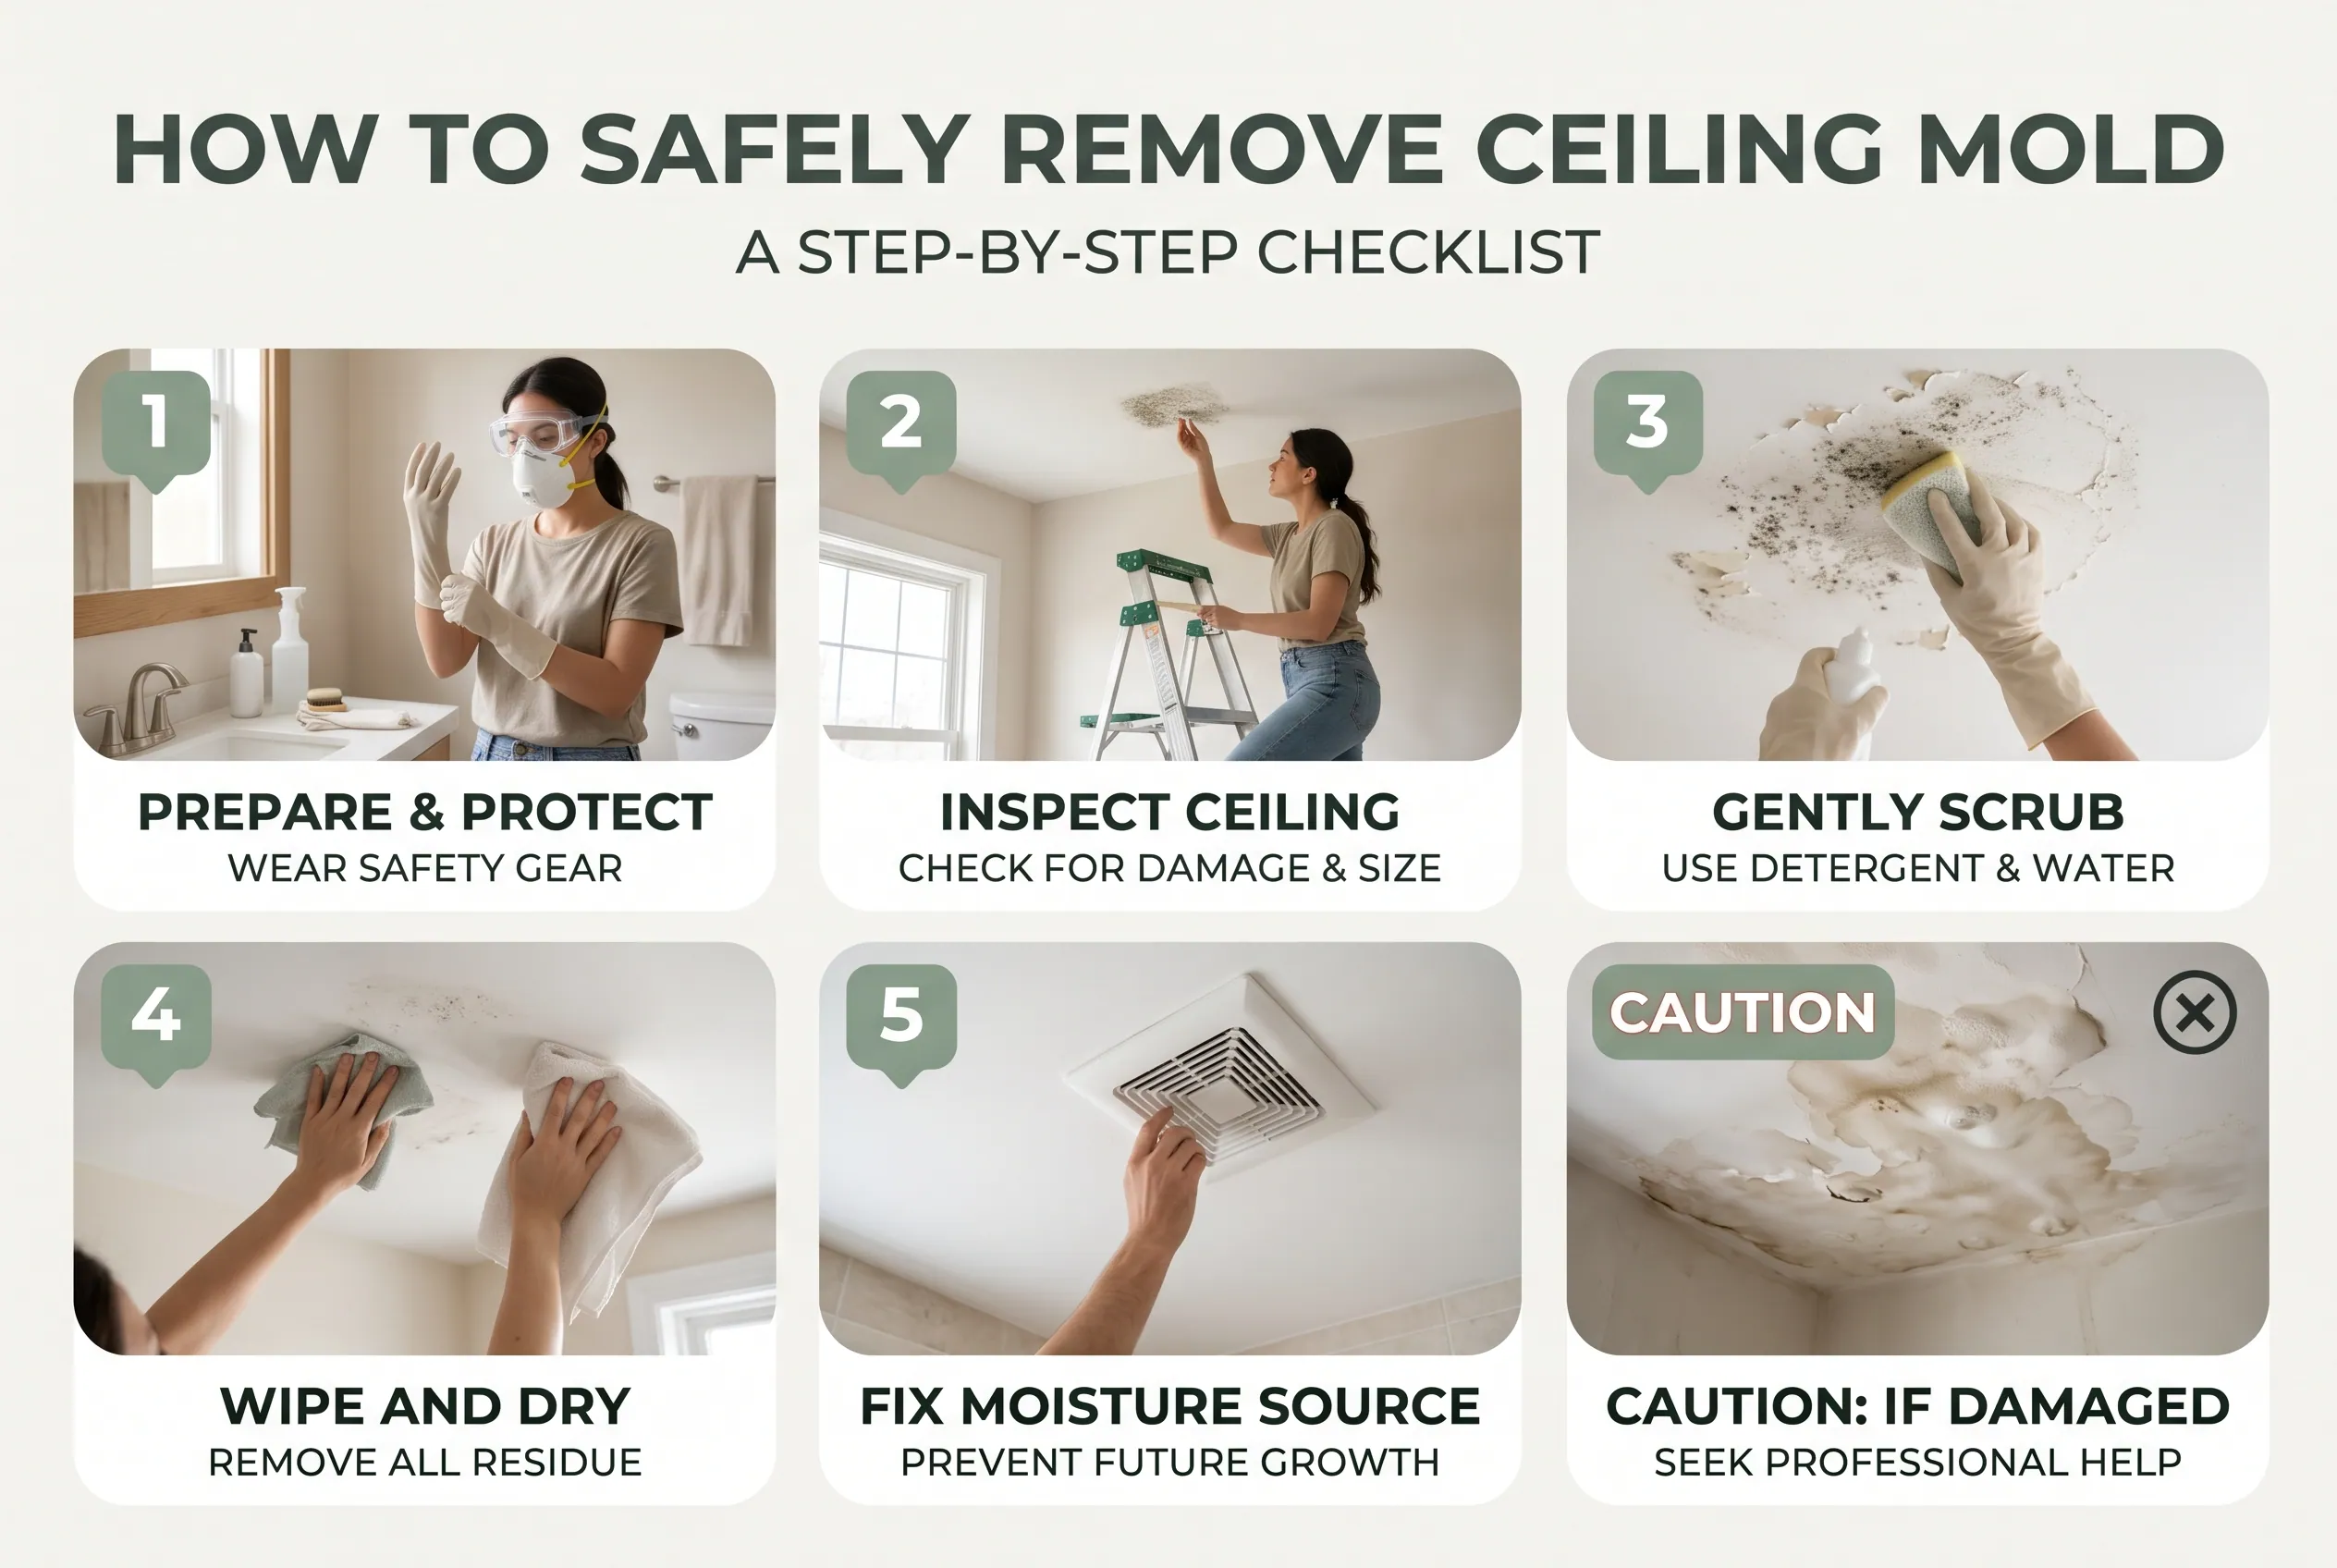
The safest approach begins with inspection rather than spraying the ceiling immediately. Confirm that the affected area is small, the ceiling is sound, and you can clean it without putting yourself at risk from falling debris or dripping chemicals.
The US Environmental Protection Agency (EPA) generally considers areas smaller than about 10 square feet suitable for homeowner cleanup. That is roughly a patch measuring 3 feet by 3 feet. However, this is a general guideline, not a guarantee that every small patch is safe to clean yourself.
For a small patch on an intact, washable surface:
- Wear suitable protective equipment and prepare the bathroom.
- Choose a cleaning method appropriate for the surface.
- Gently remove the visible mold without soaking the ceiling.
- Wipe away residue as directed and dry the area thoroughly.
- Find and correct the moisture source.
The EPA recommends scrubbing hard surfaces with detergent and water, then drying them completely. Porous materials may be difficult or impossible to clean fully if mold has penetrated them.
Read the EPA’s Mold Cleanup in Your Home guide for general cleanup advice and the limits of DIY work.
Important: Do not begin scrubbing a ceiling that is visibly sagging, wet, crumbling, or damaged by a leak. Cleaning the surface will not fix the underlying problem.
Check Your Bathroom Ceiling Before Cleaning
A quick inspection can help you avoid damaging the ceiling or spending money on a cleaner that will not solve the problem.
Check the size and location of the mold
Look at the affected area from the floor before climbing a ladder. Note how many patches are present and whether mold appears on nearby walls, around the exhaust fan, or in other parts of the room.
A few small spots may be surface growth caused by condensation. Widespread patches, repeated growth, or mold appearing alongside water stains may point to a larger moisture problem.
Estimate the total affected area rather than judging each spot separately. If the growth covers more than about 10 square feet, consider professional guidance. Also seek help sooner if the area is connected to substantial water damage, contaminated water, or suspected growth inside the ceiling.
You do not usually need a home mold test kit before addressing visible mold. The EPA explains that, in many situations, seeing and addressing the mold and its moisture source is more useful than testing to identify its exact type.
Look for peeling paint, soft drywall, and water stains
Next, check the ceiling’s condition. You can observe the surface without pressing hard or scraping it.
Watch for:
- Paint that is bubbling, peeling, or separating from the surface.
- Brown or yellow stains that may indicate water intrusion.
- Drywall that appears swollen, soft, or crumbly.
- A ceiling that sags or has visible cracks.
- A musty smell that persists even when the visible area looks clean.
These signs can indicate that water has entered the ceiling or damaged the material beneath the paint.
An intact painted surface may be suitable for gentle cleaning. Damaged drywall is different because moisture and mold can extend beneath the painted layer. Repeatedly applying cleaner to it may cause more damage without reaching the affected material.
If you rent your home, take photos of the mold and any water stains before cleaning. Report recurring mold, leaks, and damaged ceilings to your landlord or property manager. Avoid repainting or making permanent changes without checking your rental agreement.
What Supplies Do You Need to Clean Ceiling Mold?
You do not necessarily need an expensive mold-removal kit. Start with basic supplies and add protective equipment or a specific cleaner when needed.
Gather the following:
- Cleaning solution: A suitable detergent solution for an appropriate washable surface, or a cleaner labeled for the ceiling material.
- Soft sponge or microfiber cloth: Useful for gentle wiping.
- Soft-bristled brush: Helpful for suitable surfaces that need light scrubbing.
- Clean water and a separate cloth: For wiping away residue when the selected cleaning method requires it.
- Rubber or cleaning gloves: Protect your skin from mold and cleaning products.
- Protective goggles: Choose goggles that protect against splashes rather than ordinary glasses.
- A NIOSH-approved N95 respirator: Appropriate respiratory protection for many small cleanup tasks, following CDC guidance.
- A drop cloth or old towels: Protect the floor, tub, and nearby belongings.
- Stable access equipment: A properly positioned ladder or a suitable extension tool can reduce excessive reaching.
The Centers for Disease Control and Prevention (CDC) provides additional instructions in its mold cleanup guidance.
Before starting, keep children and pets away from the cleaning area. Make sure you can reach the surface without leaning sideways or stretching beyond a stable position. Never stand on a bathtub edge, rolling chair, or unstable household object to reach the ceiling.
If you cannot reach the affected area safely, do not attempt overhead cleaning yourself.
How much should you budget?
For a small DIY cleaning job, a basic cleaner may cost only a few dollars, although gloves, goggles, respiratory protection, and suitable access equipment can increase the total.
As an example, Home Depot listings checked in October 2026 showed several 32-ounce mold and mildew cleaners priced at approximately 6–14 before tax. Prices vary by product, location, and availability. These amounts cover the cleaner only, not protective equipment, ceiling repairs, or professional remediation.
Check what you already own before buying supplies. A product labeled for bathroom tile may not be suitable for painted drywall or other ceiling materials.
How to Get Mold Off a Bathroom Ceiling Step by Step
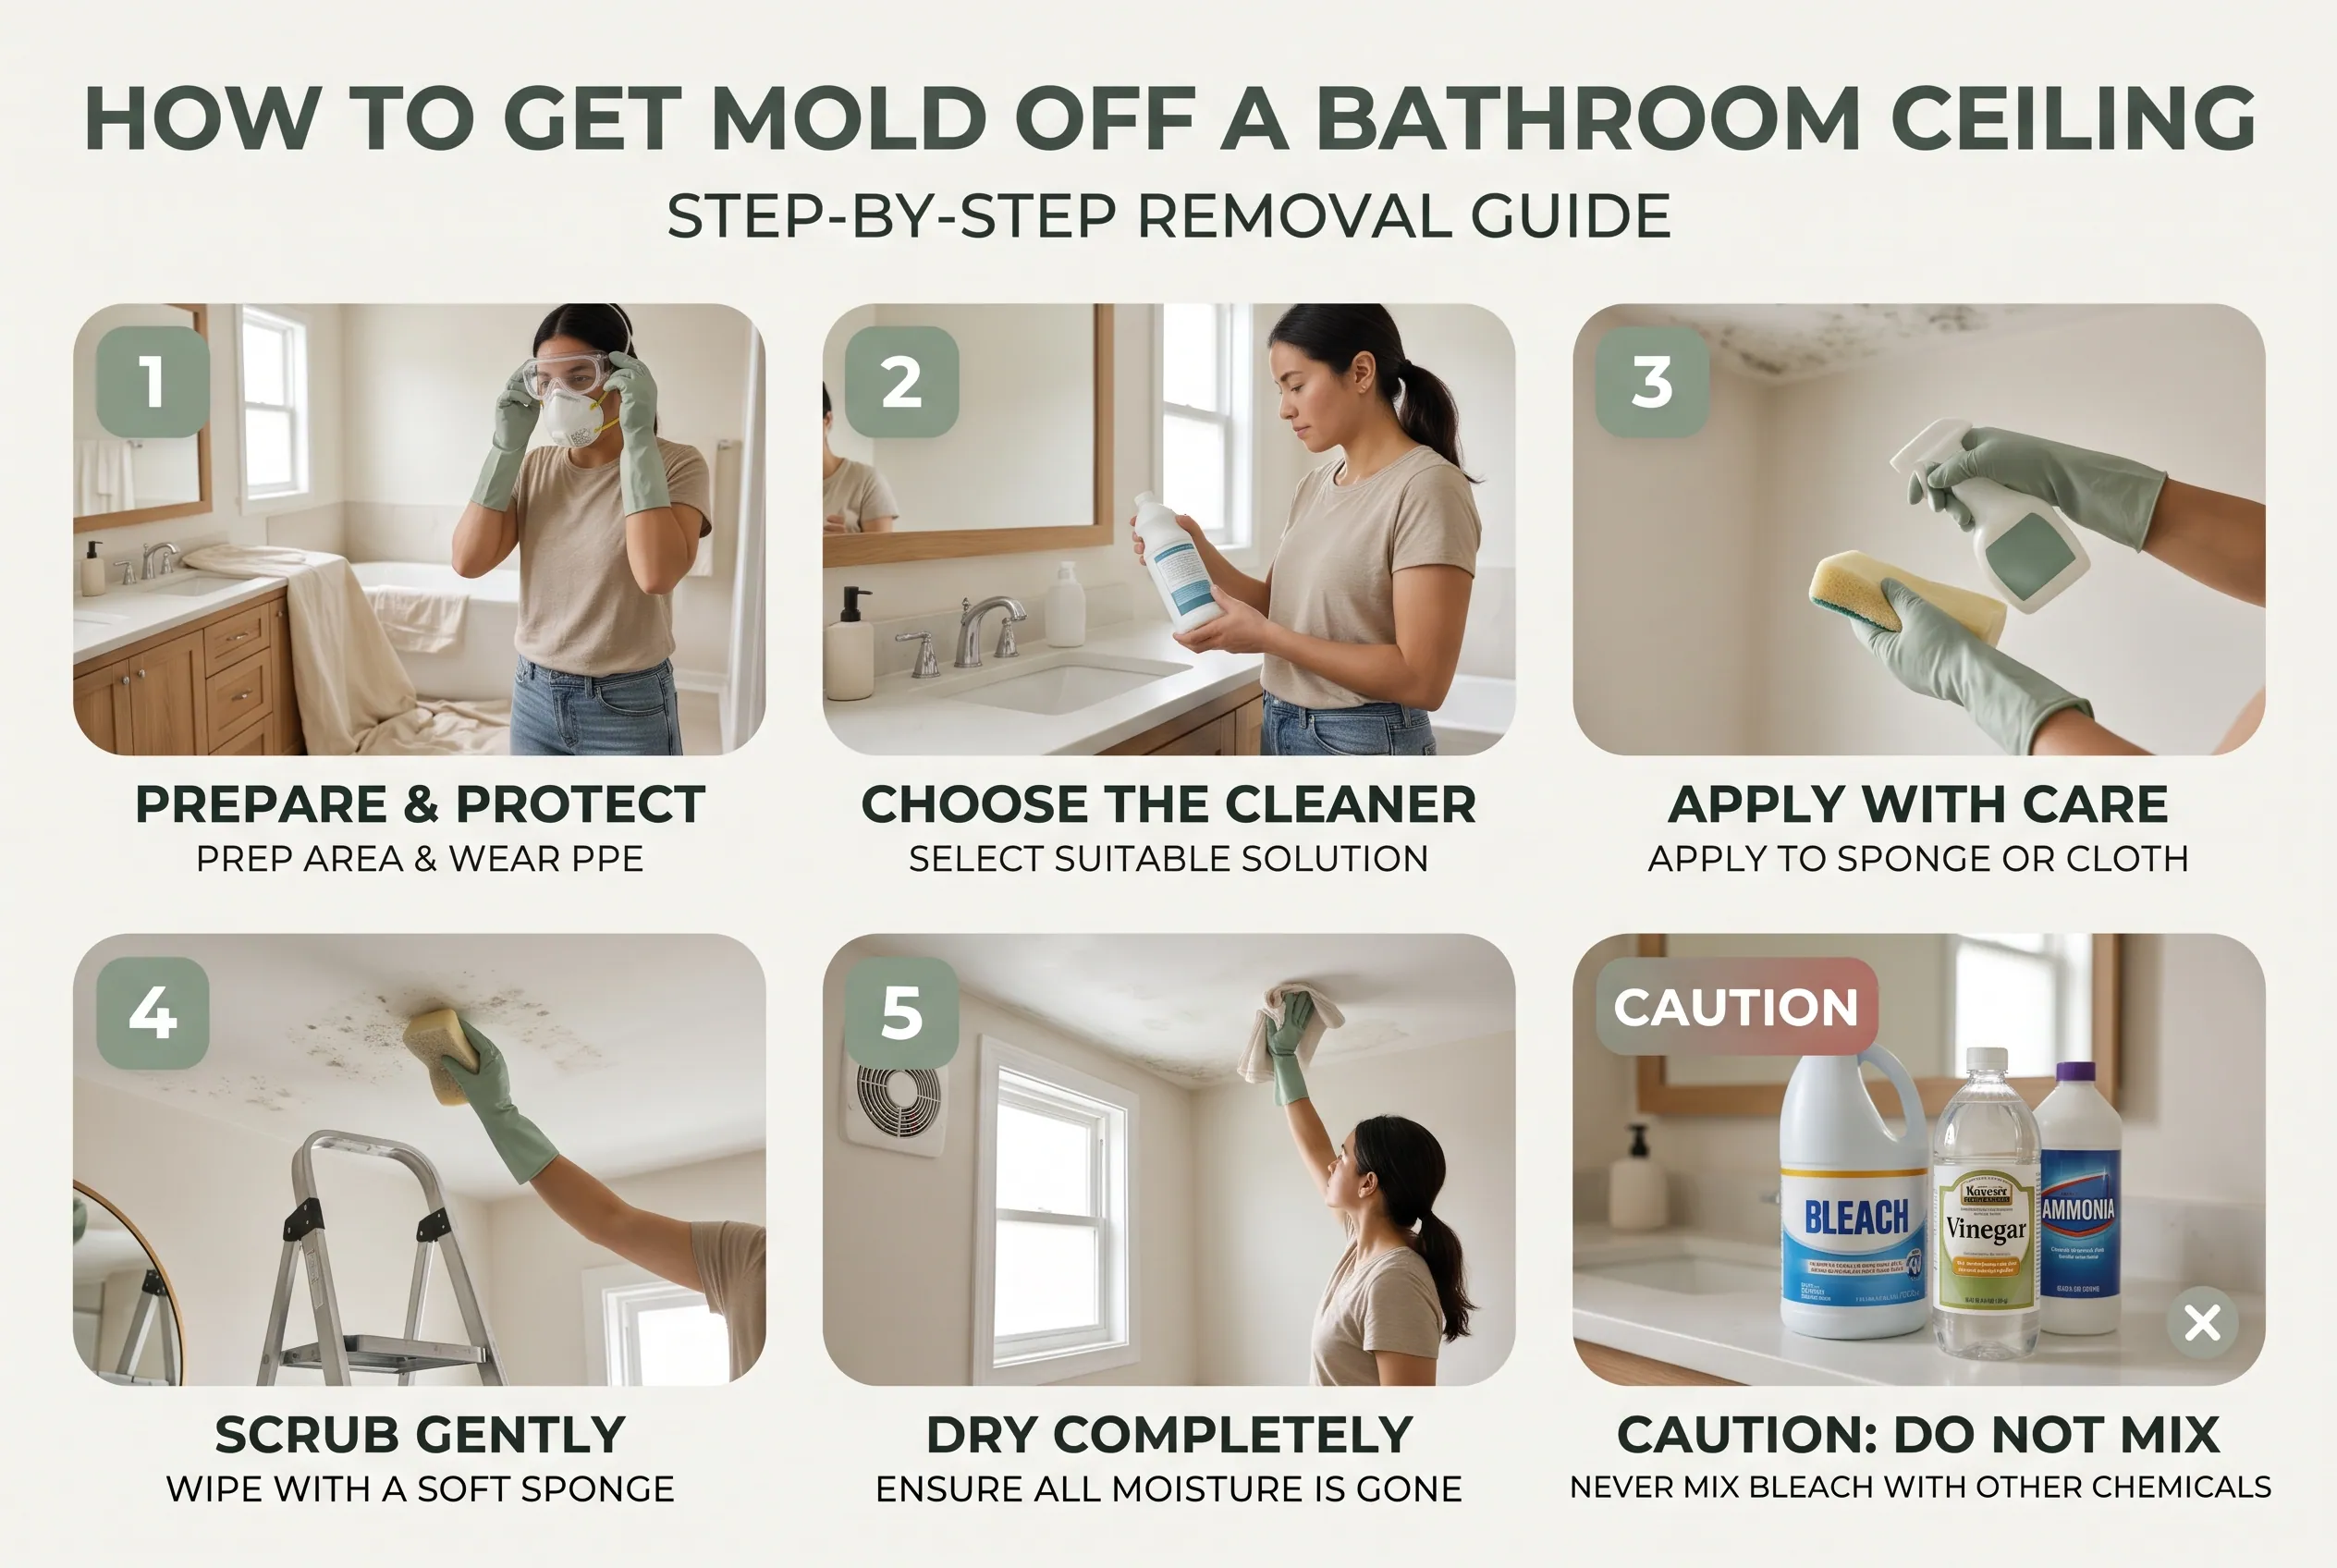
Once you have confirmed that the surface is suitable for DIY cleaning, follow these steps. Avoid aggressive scrubbing or soaking the ceiling, especially if it is painted drywall.
Step 1: Prepare and protect the bathroom
Remove towels, toiletries, and other items from the area below the mold. Cover the floor, bathtub, or vanity with a drop cloth or old towels to catch drips and loose debris.
Wear your gloves, protective goggles, and appropriate respirator before disturbing the mold.
Open a window when practical, or use an exhaust system that vents outdoors and is suitable for the situation. Avoid directing a portable fan across the moldy surface because moving air can spread dust and debris.
If the ceiling has extensive damage, if material is falling, or if you are unsure whether the area is safe to disturb, stop and seek professional advice.
Why this matters: Preparing the room helps limit contamination of nearby belongings and reduces your exposure to cleaning products and loosened material.
Step 2: Choose a cleaning solution that suits the surface
For suitable washable hard surfaces, the EPA recommends detergent and water. An intact painted ceiling may tolerate careful wiping, but the paint’s condition matters.
Read the cleaner’s instructions before applying it overhead. Confirm that it is intended for the material you are cleaning. Test a small, inconspicuous area first when appropriate, and stop if the paint softens, changes color, or starts to lift.
White vinegar is often suggested in online cleaning advice. However, the EPA and CDC guidance used here does not establish vinegar as a guaranteed treatment for every type of bathroom ceiling mold. If you choose a vinegar-based product or household solution, do not assume that it will suit every paint or ceiling material.
Commercial mold and mildew removers are another option. Select one whose label permits use on the specific surface, and follow its application, ventilation, contact-time, and rinsing instructions.
Never mix cleaning products. In particular, never combine bleach with vinegar, ammonia, or other cleaners. Mixing chemicals can release dangerous gases.
Step 3: Apply the cleaner without soaking the ceiling
Avoid spraying large amounts of liquid directly overhead. Cleaner can drip into your eyes, run down your face, or penetrate damaged paint and drywall.
For a suitable surface, a more controlled approach is to apply the cleaning solution to a cloth or sponge, following the product directions. Work on a small section at a time.
Use only enough solution to clean the surface. If the product instructions require direct application, follow them carefully and use the recommended protective equipment.
Keep the area below you clear, and do not reach so far that you become unstable on a ladder.
What to look for: The cleaning method should remove the visible surface contamination without making the ceiling overly wet or damaging its finish.
Step 4: Wipe or scrub gently
Use a soft sponge, microfiber cloth, or suitable soft brush to clean the affected area. Work carefully rather than pressing hard.
Aggressive scrubbing can damage paint and expose the porous material underneath. It can also loosen particles that may spread to other areas.
Follow the chosen cleaner’s directions for how long to leave it on the surface. Do not automatically use a fixed contact time from an online recipe because products and surfaces differ.
If the mold does not come away with gentle cleaning, or if you notice soft drywall, peeling paint, or deeper discoloration, stop. The problem may extend beyond the surface.
Use a clean cloth and fresh water to remove residue if the product instructions call for rinsing or wiping. Avoid leaving excess water on the ceiling.
Step 5: Dry the ceiling completely
Drying is an essential part of the process. Use a clean, absorbent cloth where you can reach safely, and allow the remaining moisture to evaporate.
Continue suitable bathroom ventilation while the area dries. Do not apply paint or primer to a damp surface.
Once the ceiling is dry, inspect it again in good lighting. Check for remaining visible mold, damaged paint, water stains, or signs that moisture is still present.
The surface looking clean is a useful first check, but it does not prove that mold inside damaged material has been removed.
If visible growth remains or returns, reassess the surface and moisture source rather than repeatedly applying more cleaner.
Vinegar vs. Bleach vs. Commercial Mold Removers
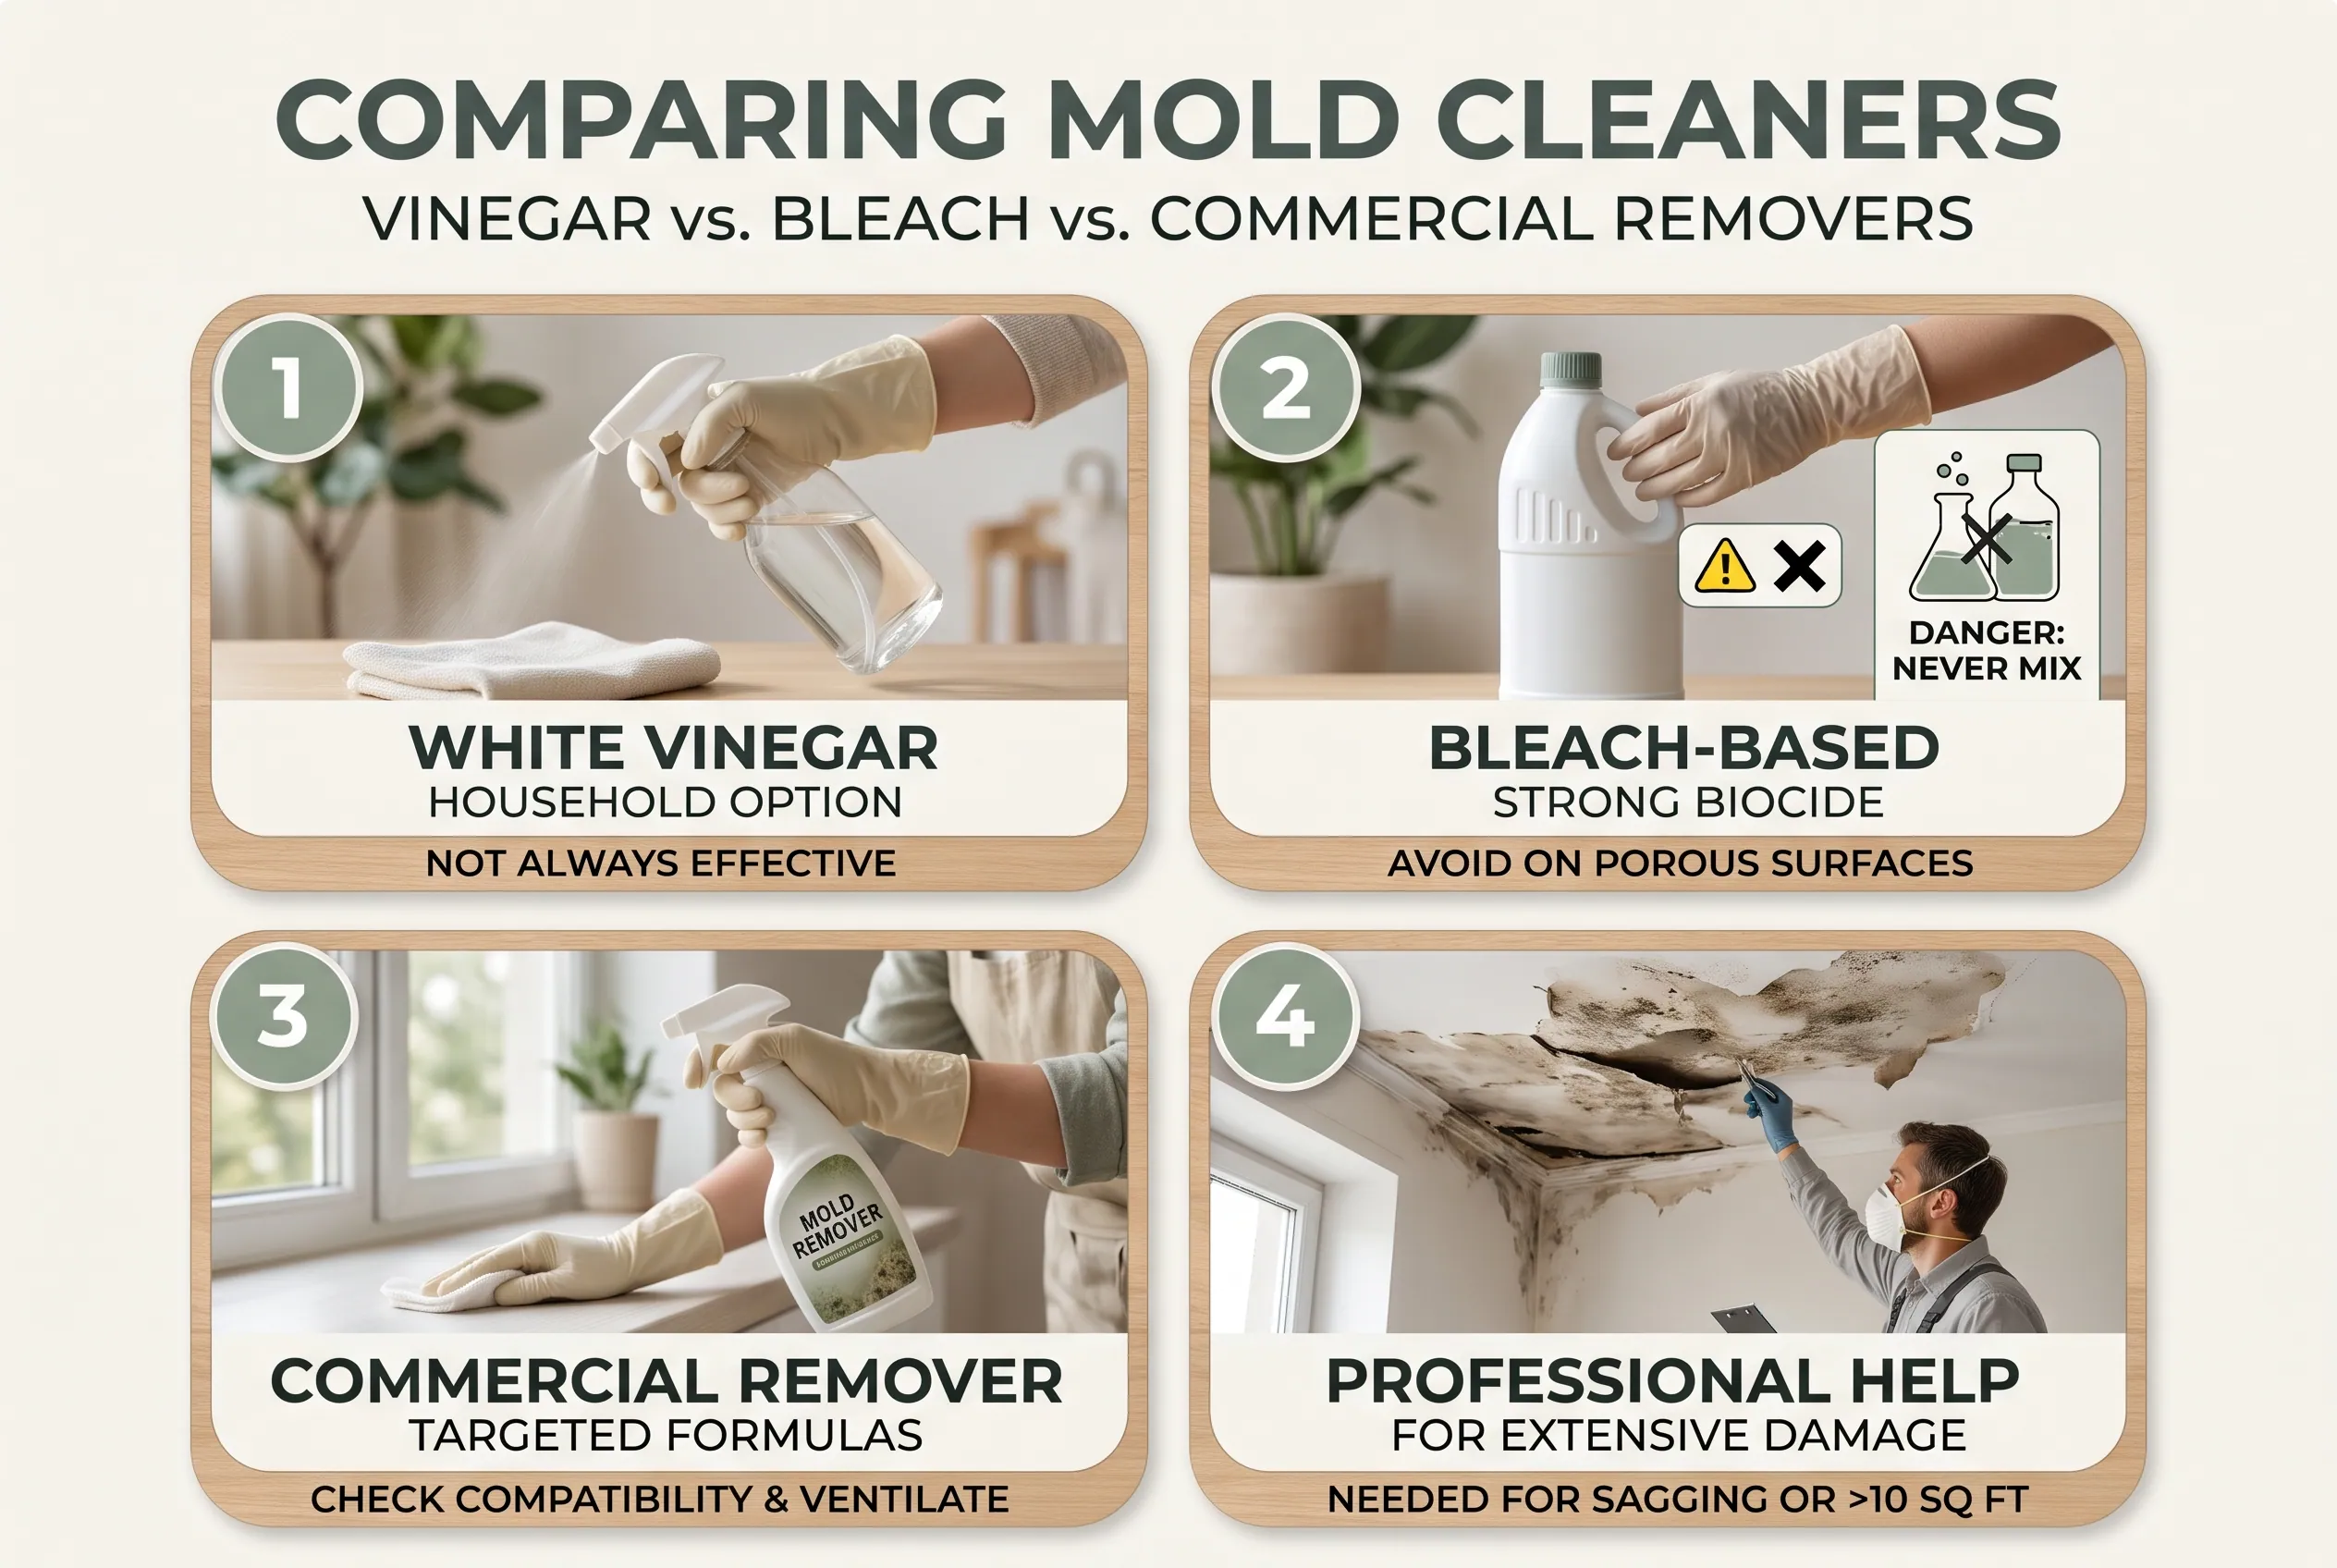
Choosing a cleaner can be confusing because different products make different claims. The right choice depends on the surface, the product instructions, and whether the mold is limited to the outside of the material.
| Cleaning option | When it may be suitable | Main limitation |
| Detergent and water | Appropriate washable hard surfaces | Not suitable for soaking damaged drywall or materials that cannot be cleaned safely |
| White vinegar | A household option some people consider for small surface patches | Not established as a guaranteed solution for every ceiling material or mold problem |
| Bleach-based cleaner | Only when the product label permits the intended surface and use | Not a universal solution for porous or damaged ceiling materials; chemical mixing is dangerous |
| Commercial mold remover | When the label explicitly allows use on the affected surface | Formulations differ; some may damage paint or require special ventilation and rinsing |
| Professional remediation | Extensive growth, damaged materials, or complicated moisture problems | Costs more than simple DIY cleaning, but may be necessary to address hidden or widespread damage |
Is vinegar better than bleach?
There is no universal winner for every bathroom ceiling.
The EPA does not recommend routine use of biocides, such as chlorine bleach, as a default approach to mold cleanup. Its guidance emphasizes physical removal on appropriate surfaces, thorough drying, and correcting the moisture problem.
That does not mean vinegar is automatically better. A household solution’s effectiveness depends on the material and circumstances, and an online recipe is not a substitute for suitable cleaning instructions.
For an intact, washable surface, start with the method recommended by the applicable guidance or product label. If the material is porous, damaged, or affected beneath the paint, changing chemicals may not solve the problem.
Can you remove mold without bleach?
Yes. Bleach is not required for every mold-cleaning job.
For appropriate washable surfaces, detergent and water can be sufficient under EPA guidance. A suitable commercial product may also be an option when its label allows the specific use.
The more important question is whether the surface can be cleaned fully and dried safely. No household cleaner can guarantee that mold will never return if moisture continues to build up.
What If Mold Leaves Stains or Damages the Ceiling Paint?
Sometimes the visible mold comes away, but a gray, yellow, or brown mark remains. This does not automatically mean active mold is still present. The remaining mark could be a stain in the paint or material beneath it.
First, make sure the surface has been cleaned and dried. Check whether there are signs of continuing dampness, peeling paint, or water intrusion. Do not cover a damp or visibly moldy ceiling with fresh paint.
If the surface is sound and the remaining discoloration is cosmetic, a suitable stain-blocking primer may help before repainting. Choose a primer and bathroom-safe finish that are compatible with the existing surface and follow the manufacturer’s instructions.
Mold-resistant paint can help reduce future growth on suitable surfaces, but it is not a substitute for repairing leaks or controlling condensation.
If paint continues to peel, the drywall feels soft, or stains return after painting, investigate the moisture source before doing more cosmetic work. Persistent water damage may require repair or replacement of the affected ceiling material.
Renters should also get permission before repainting or altering the ceiling.
When Should You Call a Mold Remediation Professional?
DIY cleaning is not appropriate for every mold problem. Professional help may be the safer choice when the affected material is damaged, the growth is widespread, or the source of moisture is unclear.
Consider a qualified mold remediation professional or the appropriate building repair specialist if:
- The total affected area is larger than about 10 square feet.
- The ceiling is sagging, crumbling, swollen, or extensively peeling.
- Water damage suggests that mold may be growing behind the ceiling.
- Mold keeps returning despite reasonable cleaning and moisture control.
- A roof, plumbing, or other hidden leak may be involved.
- The cleanup could affect people with asthma, significant mold allergies, weakened immune systems, or underlying lung disease.
The 10-square-foot figure comes from general EPA guidance. It is not a strict point below which every job is safe, nor does it mean all larger areas automatically require the same repair method.
People with asthma, mold allergies, chronic lung disease, or weakened immune systems should be especially careful about exposure. They may need to avoid cleanup themselves and arrange suitable help.
When there is suspected hidden mold, substantial water damage, or a recurring leak, the goal is to identify and correct the underlying problem—not simply make the visible spots disappear.
You usually do not need to pay for mold testing just to identify visible growth before taking appropriate action. If the source or extent of damage is uncertain, an assessment of the building conditions may be more useful than a test that only identifies mold in a sample.
For general guidance, consult the EPA’s mold and moisture guide.
How to Stop Mold From Returning to Your Bathroom Ceiling
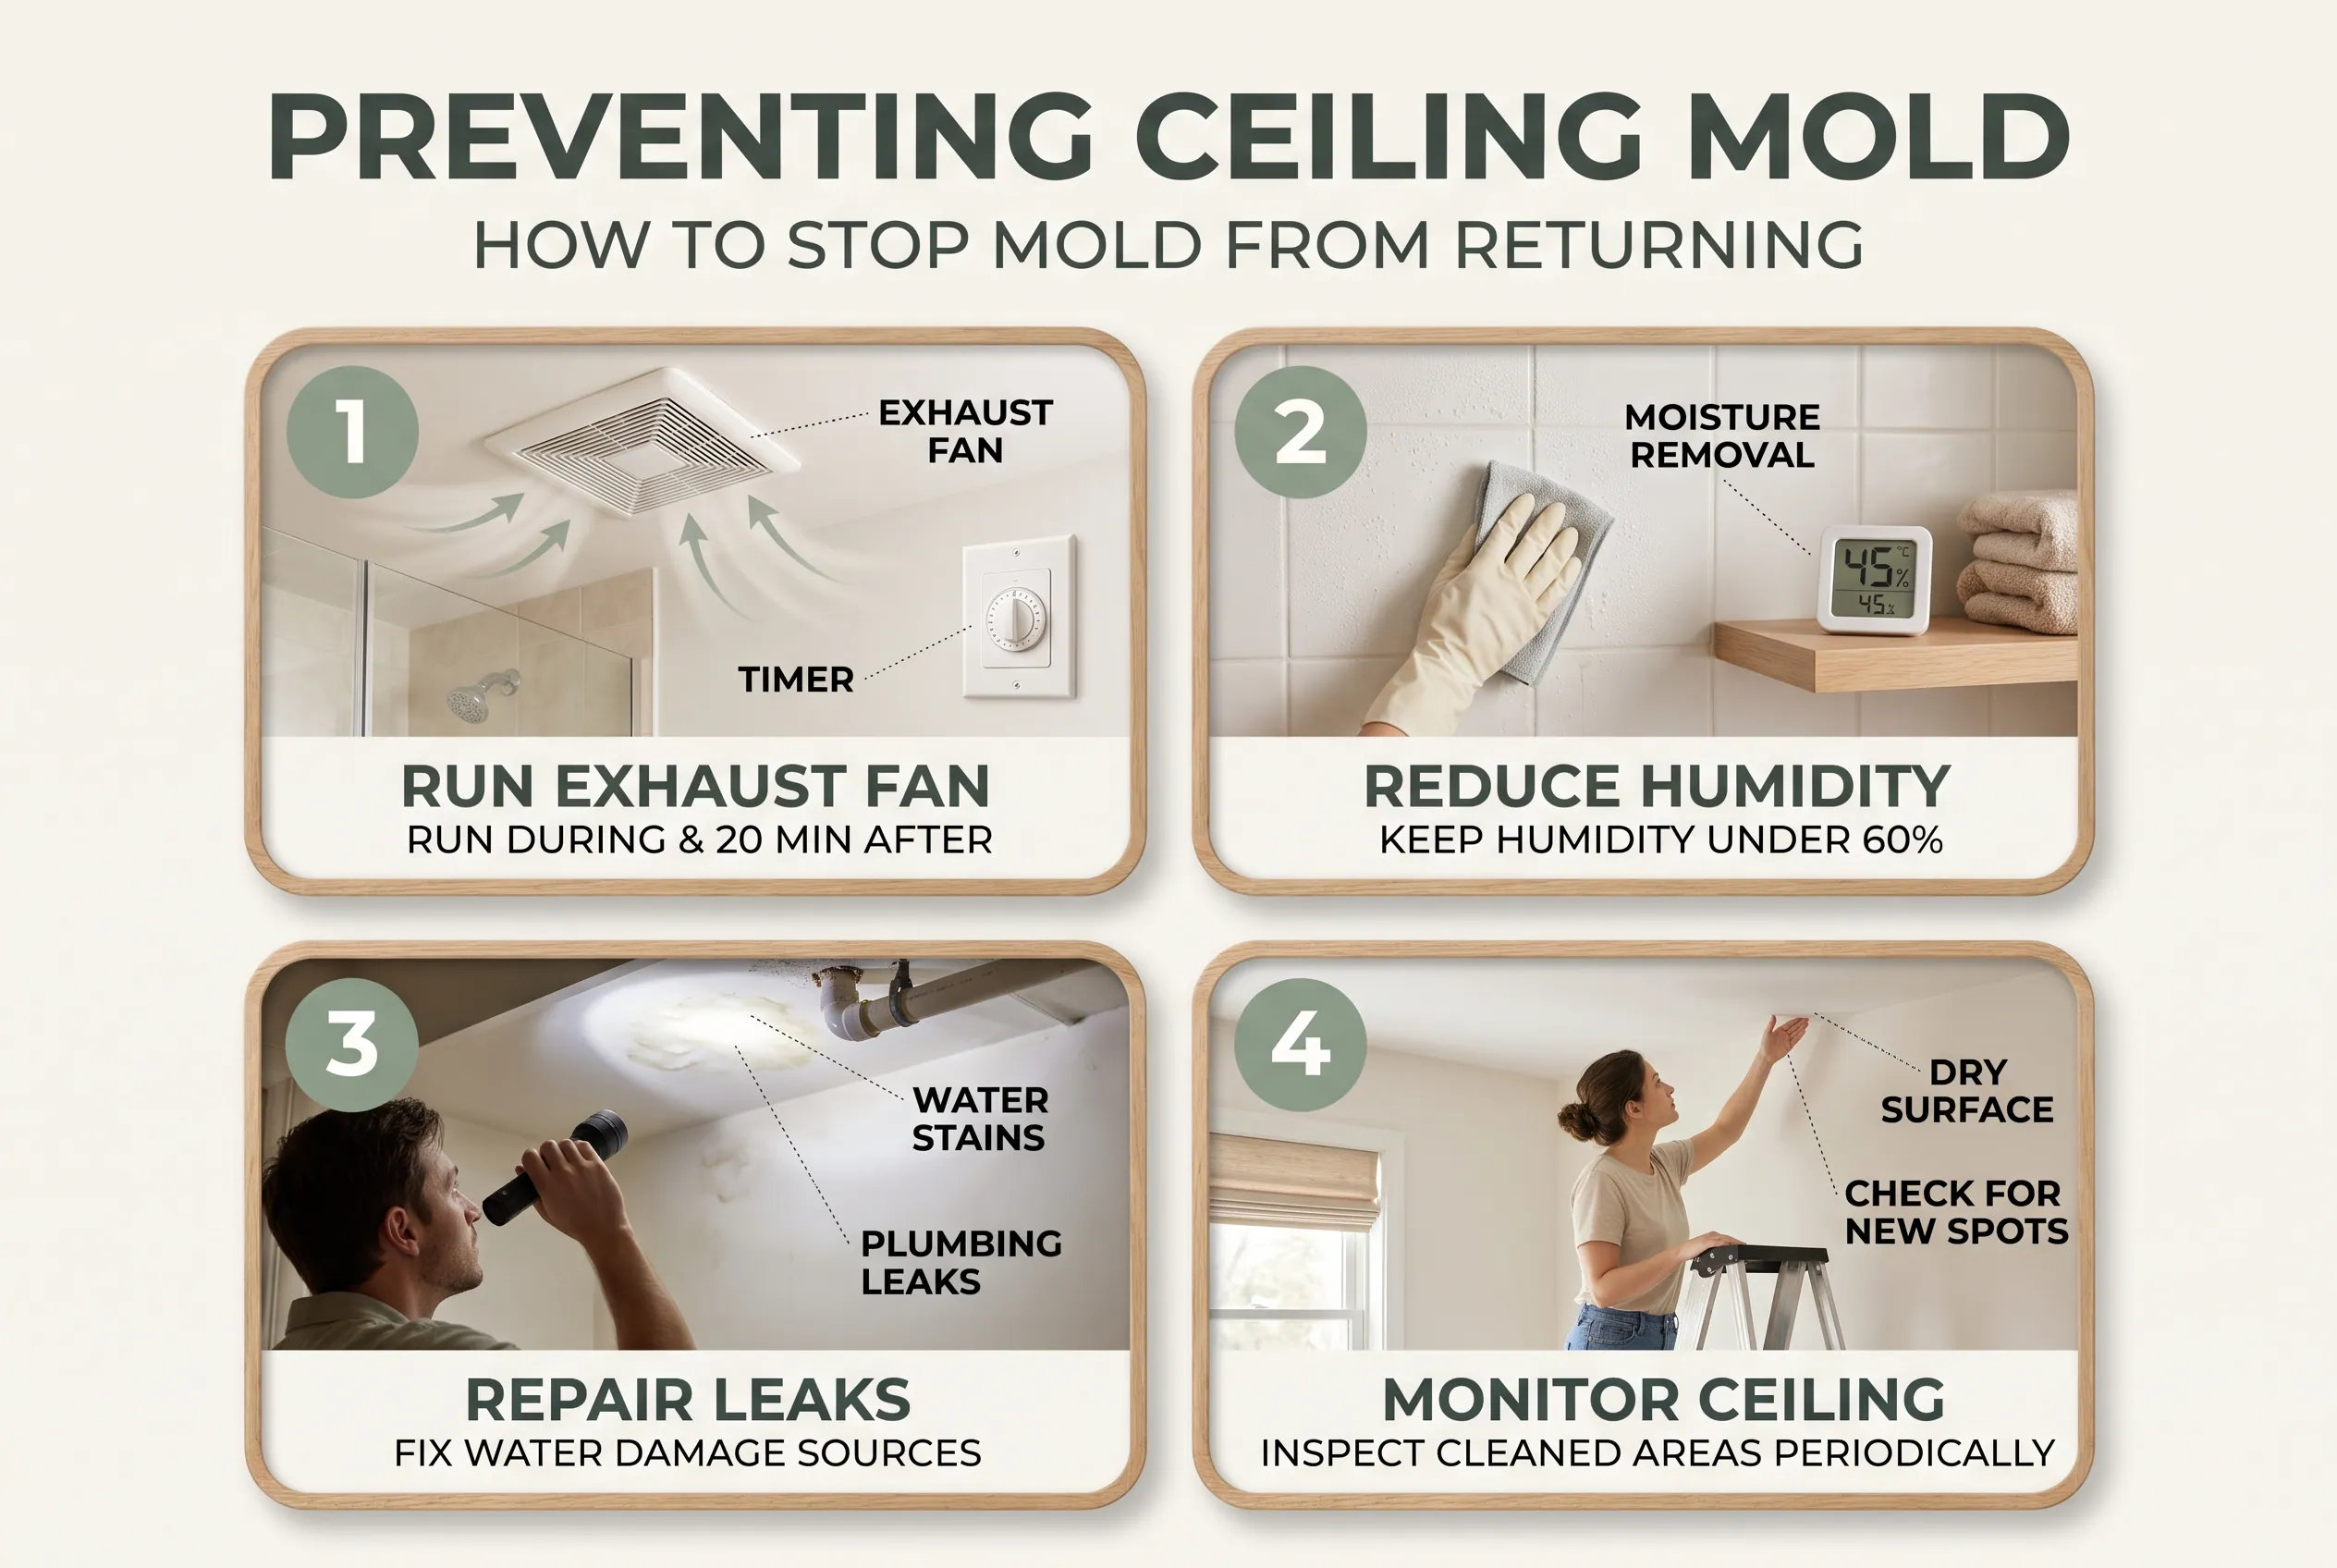
Cleaning removes the visible problem, but preventing recurrence requires controlling moisture. Bathroom mold commonly develops where humidity, condensation, leaks, or poor ventilation allow surfaces to remain damp.
Use the exhaust fan during and after showers
Run the bathroom exhaust fan during showers and continue afterward to remove humid air. The Home Ventilating Institute recommends running the fan for about 20 minutes after bathroom use.
This recommendation assumes the fan works properly and exhausts air outdoors. A noisy fan that moves little air, or a system that does not vent outdoors, may not remove enough moisture.
If the ceiling repeatedly becomes damp, check the fan’s operation and consider whether the room needs better ventilation.
See the Home Ventilating Institute’s bathroom ventilation guidance for additional information.
Reduce humidity and condensation
The EPA recommends keeping indoor relative humidity below 60%, ideally around 30–50% when practical. A bathroom may briefly become more humid during a shower, so ventilation and moisture removal are important.
A small hygrometer can help you monitor humidity if recurring moisture is a concern. If the room remains damp long after a shower, improve ventilation and check for other sources of moisture.
You can also wipe excess moisture from suitable surfaces and keep bathroom doors or windows open when practical and appropriate for your home’s ventilation needs.
Avoid relying on dehumidification alone if the ceiling is wet because of a plumbing or roof leak. The water source must be repaired.
Find and repair leaks
Mold that returns in the same spot may indicate that the underlying moisture problem has not been resolved.
Look for water stains, bubbling paint, cracked seals near plumbing, or dampness that appears even when the bathroom has not been used. A roof leak or plumbing problem may require a qualified repair professional.
Do not open a ceiling cavity or remove damaged ceiling material unless you can do so safely and understand the potential risks. Hidden water damage may require professional assessment.
Recheck the ceiling after cleaning
Inspect the cleaned area periodically, especially if the bathroom has a history of condensation or leaks. Look for new spots, peeling paint, persistent dampness, or a musty smell.
If the ceiling stays clean and dry, ventilation and moisture control may be working. If mold returns, do not automatically assume that you need a stronger cleaner. Reassess ventilation, humidity, leaks, and whether the original material was damaged.
Frequently Asked Questions About Bathroom Ceiling Mold
Is mold on a bathroom ceiling harmful?
Mold can cause allergic reactions and irritation in some people, and damp indoor environments can worsen asthma symptoms. The level of concern depends on the person, the extent of growth, and the building conditions. Black color alone does not identify a particular mold species or tell you how dangerous it is. Address visible growth and persistent moisture, and seek qualified advice when health concerns or extensive damage are present.
How do I permanently remove mold from my ceiling?
There is no cleaning method that can guarantee mold will never return. Remove surface mold appropriately, dry the ceiling, and fix the source of moisture. Improve ventilation, address leaks, and replace damaged porous material when necessary. If growth returns repeatedly, investigate the underlying cause instead of relying on repeated applications of cleaner.
Is bleach or vinegar better for bathroom ceiling mold?
Neither is a universal solution. The EPA does not recommend routine bleach use as the default method for mold cleanup, and vinegar is not a guaranteed treatment for every ceiling surface. For suitable washable surfaces, detergent and water are a practical starting point. For other products, follow the label and check material compatibility. Never mix bleach with vinegar or other cleaning products.
Why does mold keep growing on my bathroom ceiling?
Common causes include humid air from showers, poor exhaust ventilation, condensation on cooler surfaces, and plumbing or roof leaks. Mold may return if the ceiling stays damp or if growth extends into porous material that was not fully cleaned. Check ventilation, look for water damage, and repair the moisture source before repainting or applying more cleaner.
Choose the Right Next Step for Your Ceiling
If your bathroom ceiling has a small surface patch and the paint is intact, careful cleaning with a suitable method may be enough. Protect yourself, avoid soaking the ceiling, and dry the surface completely.
If the material is soft, peeling, or extensively affected, arrange a professional assessment rather than continuing to scrub. Most importantly, address the moisture that allowed mold to grow. A clean ceiling is a useful result; a clean, dry ceiling with the underlying moisture problem corrected is a better long-term outcome.
Disclaimer
Home conditions, materials, budgets, and cleaning needs vary, so always check product instructions and your ceiling’s condition before starting. Seek qualified help for extensive mold growth, significant water damage, damaged building materials, or suspected plumbing and roof leaks.